
Here's a brutal fact: 90% of the 'supply and demand forex pdf' files you download are useless.

Olumide Adeyemi
West African Trading Pioneer ·  Nigeria
☕ 9 min read
What you'll learn:
Here's a brutal fact: 90% of the 'supply and demand forex pdf' files you download are useless. They show perfect, textbook zones on old charts, but when you try it on live NGN pairs or EUR/USD, nothing lines up. The theory is solid, but the execution is where Nigerians get fleeced. I've watched traders blow accounts trying to trade 'demand zones' from a PDF while ignoring the real market structure. This isn't about more theory. It's about stripping the concept down to what actually works on your screen, right now, with the spreads and volatility we face here.
Let's clear the air. A 'supply and demand forex pdf' usually defines these zones as areas where big banks or institutions placed orders, causing a sharp price reversal. That's partly true, but it's too clean. For us retail traders, it's simpler: a demand zone is where buying pressure consistently overwhelms selling pressure, causing the price to bounce up. A supply zone is the opposite: it's where sellers swarm in and smash the price down.
The key word is 'consistently.' One bounce doesn't make a zone. You need evidence of a reaction. I made this mistake early on. I'd see GBP/NGN drop, then have a small up candle, and I'd immediately draw a demand zone and buy. More often than not, price would just slice right through it. I was trading hope, not actual supply or demand.
Warning: Don't confuse support/resistance with supply/demand. Support and resistance are horizontal levels where price might pause. Supply and demand are areas of imbalance that cause a strong, often violent, move away. Support gets tested; a true demand zone should see price leave it quickly.
Think of it like this: at a market in Yaba, if tomatoes are too cheap (demand zone), people rush in and buy them all, pushing the price up fast. If they're too expensive (supply zone), nobody buys, the sellers get desperate, and the price crashes. Your chart is just a digital version of that market.
This is where you separate the pros from the PDF collectors. You can't just draw a rectangle anywhere.
The Rally-Base-Drop / Drop-Base-Rally Method
This is the most reliable pattern. Forget complex indicators; your eyes are the best tool.
- For a Supply Zone: Look for a sharp drop in price (the rally), followed by a slow, sideways consolidation (the base), then another sharp drop away from that area. The supply zone is that consolidation base. The move away should be aggressive.
- For a Demand Zone: It's the inverse. A sharp rally, a slow base, then another sharp rally. The demand zone is the base.
I'll give you a real example from last month on USD/NGN. On the broker chart (remember, it's a CFD), price rallied from 1450 to 1480 in a near-vertical move (rally). It then churned between 1475 and 1485 for two days (base). It then shot up again to 1500+ (rally). That base was a demand zone. The next retest into the 1475-1485 area was a high-probability buy. I took a long at 1478.5 and exited at 1492. That's trading the reality, not a drawing.
What Kills a Zone?
A zone is invalidated if price moves through it with momentum and closes firmly on the other side. If your 'demand zone' gets cracked and price closes 30 pips below it on the 1-hour chart, it's dead. Move on. Clinging to a broken zone is an account killer.
Pro Tip: Zoom out. A zone on the 15-minute chart might be meaningless noise. The most powerful zones are visible on the 4-hour and daily charts. Always mark your zones from the higher timeframes first, then look for entries on lower timeframes. This is a core part of any solid swing trading approach.

💡 Winston's Tip
A zone is only valid if the move that created it would make a headline. A wimpy move means wimpy orders.
“A broken zone is a magnet for liquidity, not a reason for revenge.”
Knowing the zone is 30% of the work. The other 70% is not messing up the trade. Let's talk specifics for our context.
Entry: You don't buy at the demand zone, you buy on a reaction within it. Wait for price to enter the zone and show a rejection candle (like a pin bar or a bullish engulfing). Patience here saves money. With the high volatility on crosses like GBP/NGN, jumping in early can mean a 50-pip stop loss gets hit before the move even starts.
Stop Loss: This is non-negotiable. Your stop loss goes below the demand zone (or above a supply zone). The zone must have room to 'breathe.' If your zone is 50 pips tall, your stop should be 10-20 pips below its lowest point. This protects you if the zone fails. Never place your stop inside the zone; you'll get stopped out by normal volatility. Use a position size calculator to ensure this stop distance doesn't risk more than 1-2% of your account.
Take Profit: The first target is usually the swing point that created the zone. For example, if a drop-base-drop formed a supply zone, your first TP is the low of the initial drop. You can take partial profit there and trail the rest.
Here’s where local costs bite. If you're trading with a broker like Exness on a standard account, you might have a 2-pip spread on EUR/USD. If your profit target is only 10 pips, that spread just ate 20% of your potential gain. This is why understanding the spread definition and choosing the right account type is critical. For these shorter-term zone trades, a raw spread account from a broker like IC Markets or Pepperstone might make more sense, even with a commission.
And remember the taxman. That 10% capital gains tax on your gross profits? Factor that into your profit calculations. A series of small, scrappy wins can get heavily diluted after costs and taxes.
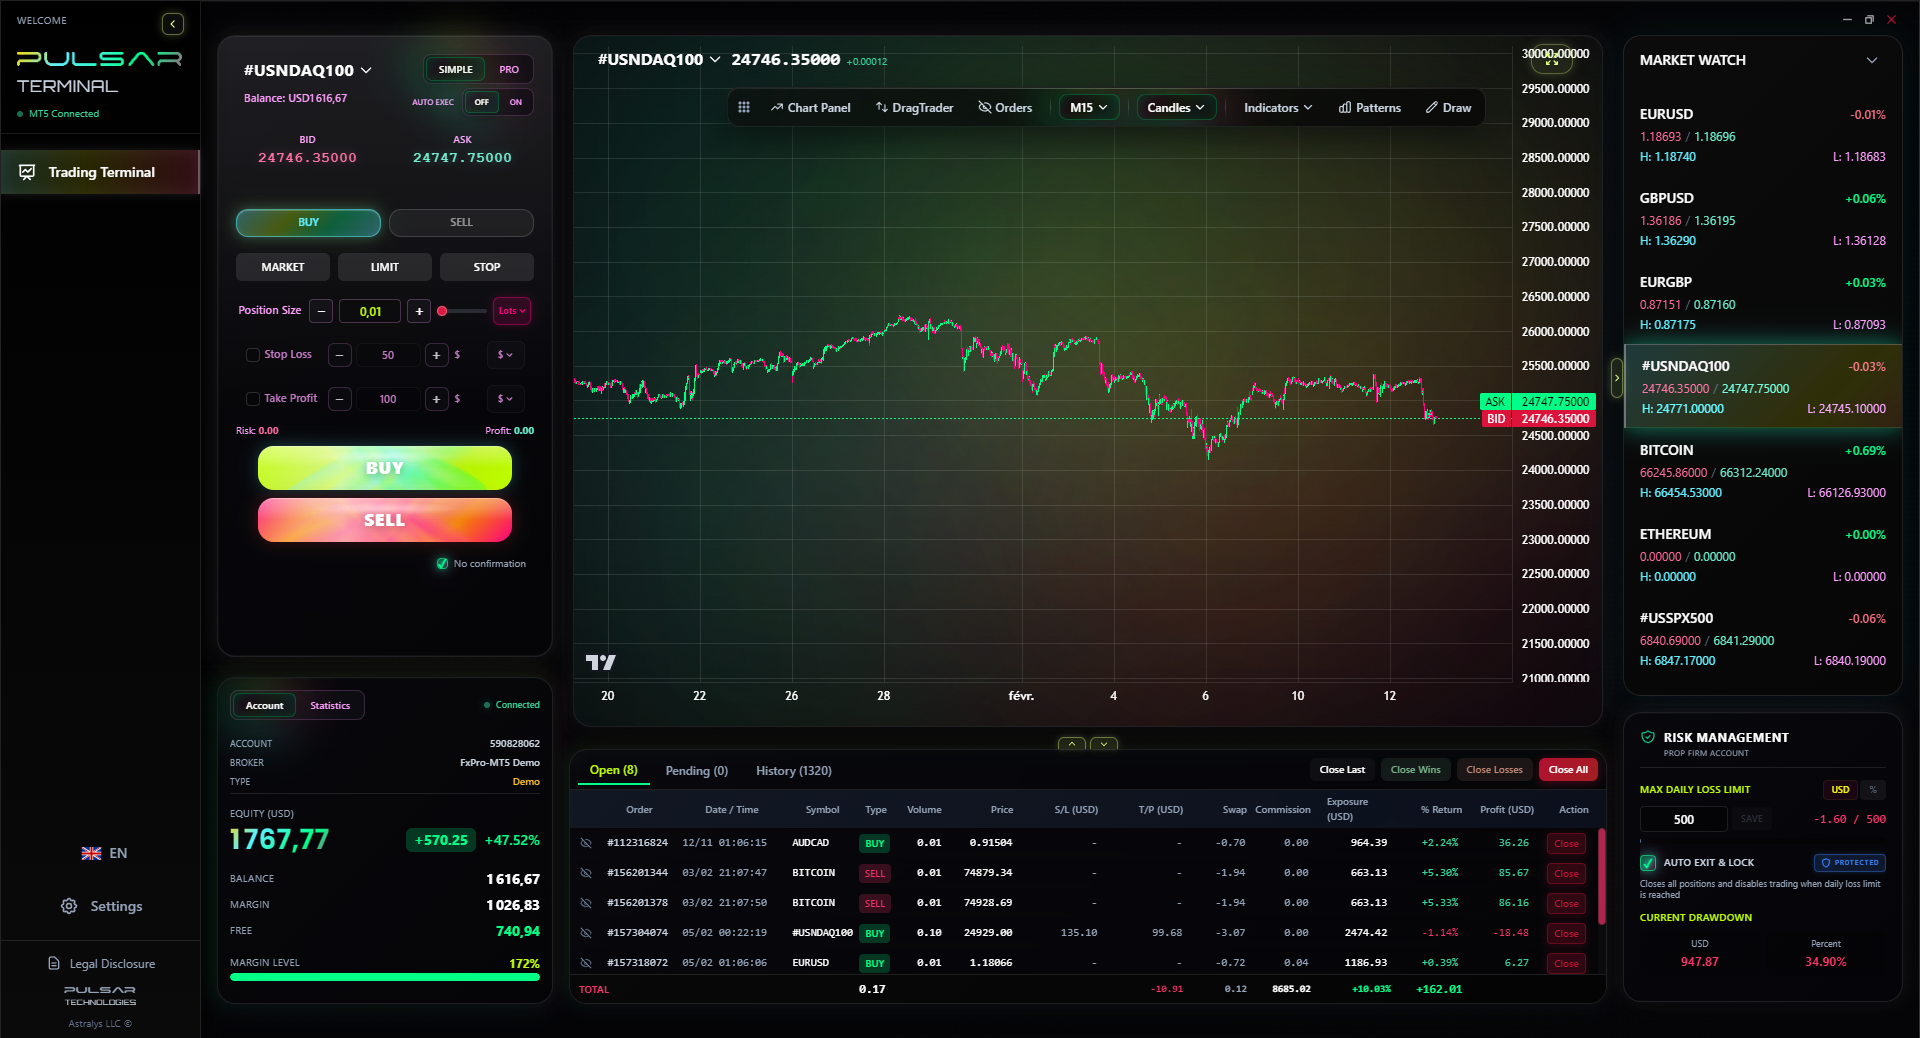
Managing multiple take-profit levels and a trailing stop on a zone trade is cumbersome in MT5; Pulsar Terminal lets you set it all with one drag-and-drop order.
Pulsar Terminal
The all-in-one MT5 companion: drag-and-drop orders, multi-TP/SL, trailing stop, grid trading, Volume Profile, and prop firm protection. Used by 1,000+ traders daily.
Let me be your cautionary tale. I lost $800 in two weeks making these errors. Learn from my stupidity.
- Trading Every Squiggle as a Zone: This is the biggest one. Not every consolidation is a supply/demand base. The base needs to be relatively tight and precede a strong move. If the move away is wimpy, the zone is wimpy. I used to mark up my charts with so many zones it looked like a toddler's coloring book. It was chaos.
- Ignoring Higher Timeframe Context: I found a beautiful demand zone on the 5-minute chart for XAU/USD (gold) and went all in. What I didn't see was that on the 1-hour chart, price was crashing through a major weekly supply area. My little 5-minute zone stood no chance. It was obliterated. Always check the higher timeframe trend.
- No Confirmation: Just because price is in the zone doesn't mean you fire the trade. Wait for a price action signal. A bearish pin bar in a supply zone? That's your trigger. Jumping in blind is gambling. I now use the RSI indicator or MACD indicator for a secondary confluence, but the candle pattern is king.
- Revenge Trading a Broken Zone: This is the killer. Your zone fails, you take the loss. Then price meanders back near the zone, and you think, 'Ah! It's going to work this time!' and you re-enter. This is how a single 2% loss turns into a 5% or 10% disaster. A broken zone is a magnet for liquidity, not a reversal point. When a zone breaks, you should be looking to trade in the direction of the break.
Example: You buy at a demand zone, risking 50 pips to make 100. Your 1% risk is $10. Your position size should be: $10 / (50 pips * pip value) = your lot size. If you don't do this math, you're not trading, you're guessing.
💡 Winston's Tip
Your first 100 zones will be wrong. Journal why. That log is worth more than every trading PDF on the internet.
“You don't buy at the demand zone, you buy on a reaction within it. Patience here saves money.”
Your broker's platform is your battlefield. You need one that lets you draw cleanly and execute fast.
Drawing Tools: You need a platform with clear rectangle or box drawing tools. MT4/MT5 are fine for this. The fancy 'supply and demand forex pdf' indicators that auto-draw zones? I've tested a dozen. They're laggy and paint the past. Learn to draw them manually. It trains your eye.
Broker Choice: This is vital. You need a broker with:
- Reliable execution (no requotes when you hit your zone).
- Tight spreads on the majors you trade (check that EUR/USD average).
- A functional withdrawal process to your Nigerian bank account.
Many Nigerians use XM or Exness for their local support and deposit options. For raw spreads, IC Markets is a global favorite. But you must verify their current policies for Nigerian clients. Your trading edge vanishes if you're fighting a 5-pip spread on entry and exit.
The PDF Myth: Stop searching for the holy grail PDF. The real 'manual' is your trading journal. Screenshot every zone you trade. Note why it worked or failed. Was the base tight? Was the move away strong? What was the higher timeframe doing? After 100 trades, you'll have your own, personalized, profitable 'supply and demand forex pdf' written in your P&L.
Here's a simple plan to implement this now.
Sunday Night/Monday Morning:
- Open your charts (EUR/USD, GBP/USD, maybe USD/NGN if your broker offers it).
- Zoom to the Daily and 4-Hour charts. Scan left to right.
- Mark ONLY the clearest rally-base-drop or drop-base-rally patterns. Use a bright color for demand, a different one for supply. Keep it to 3-5 zones per chart max.
During the Week:
- Watch these zones on the 1-hour chart.
- When price approaches, switch to the 15-minute or 5-minute chart for entry timing.
- Wait for the rejection candle. Place your order with stop and target.
- If it hits, great. If it misses, delete the zone if it's clearly broken.
Friday Afternoon:
- Review all your marked zones. Which were respected? Which were smashed?
- Journal the lessons. Adjust your eye for next week.
This method forces discipline. You're not chasing price. You're letting price come to your pre-identified areas of imbalance. It turns down the noise and the emotion, which is half the battle in Lagos with power cuts and internet issues. You're not a scalper; you're a sniper waiting for your setup. This mindset shift alone will improve your results more than any PDF ever could.
💡 Winston's Tip
If you can't explain your zone in one sentence ('rally, tight 4-hour base, drop'), it's not a trade. Complexity is the enemy of execution.
FAQ
Q1Is supply and demand trading better than support and resistance?
It's not 'better,' it's more specific. Support/resistance are general areas where price might react. Supply/demand zones are specific areas of imbalance that caused a strong prior move. Think of support/resistance as a wide neighborhood, and supply/demand as the exact street address where the big market orders are sitting. For actionable trades, the specific address is more powerful.
Q2What is the best time frame for drawing supply and demand zones?
Start with the higher timeframes. The daily and 4-hour charts provide the most significant and reliable zones. You draw them there, and then use lower timeframes (1-hour, 15-minute) to fine-tune your entry. A zone on a 15-minute chart is often just noise unless it aligns with a higher-timeframe zone.
Q3How do I know if a supply or demand zone is strong?
Strength comes from three things: 1) The 'Move Away': How fast and forceful was the price departure from the base? A sharp, long candle is strong. 2) The 'Base': A tight, consolidated base is stronger than a wide, sloppy one. 3) Test History: A zone that has caused a clear reversal multiple times in the past is stronger than a fresh, untested zone.
Q4Can I use supply and demand for scalping?
You can, but it's tricky. On very low timeframes (like 1-minute or 5-minute), zones form and break constantly. The 'noise' is extreme. It's possible, but you need razor-sharp execution and a broker with ultra-low spreads to make it viable. For most Nigerians, scalping strategy is harder due to connectivity and cost issues. Supply/demand works better for swing trades off higher timeframes.
Q5Do I need special indicators to trade supply and demand?
No. In fact, I recommend against them initially. Most auto-drawing indicators repaint or are based on lagging formulas. Your eyes and a simple rectangle drawing tool are the best indicators. Learn to see the rally-base-drop pattern manually. It builds a skill no indicator can give you.
Q6How do Nigerian taxes work on forex trading profits?
Forex trading profits are typically subject to Capital Gains Tax in Nigeria, which is 10% of your gross profits. You are responsible for declaring this income and paying the tax. Keep detailed records of all your trades, deposits, and withdrawals. Trading with an international broker doesn't exempt you from Nigerian tax obligations.
Q7What happens if my broker's chart price is different from the CBN rate?
You are almost certainly trading a CFD (Contract for Difference) based on the international forex price, not the physical Naira. Your broker's USD/NGN quote is a derivative that tracks the international market perception of the Naira's value, which can differ significantly from the official CBN rate. You are not buying actual dollars; you are speculating on a price. Understand the instrument you're trading.
Prof. Winston's Lesson
Key Takeaways:
- ✓Trade zones from the 4-hour/Daily chart, not the 5-minute.
- ✓Place your stop loss 10-20 pips beyond the zone, not inside it.
- ✓A zone must have a strong 'move away' to be valid.
- ✓Factor in the 10% capital gains tax on all profits.
How useful was this article?
Click a star to rate
Weekly Trading Insights
Free weekly analysis & strategies. No spam.
About the Author
Olumide Adeyemi
West African Trading Pioneer
One of Nigeria's most active forex trading educators. 8 years of experience trading from Lagos. Specializes in low-capital strategies and prop firm challenges for African traders.
Comments
Risk Disclaimer
Trading financial instruments carries significant risk and may not be suitable for all investors. Past performance does not guarantee future results. This content is for educational purposes only and should not be considered investment advice. Always conduct your own research before trading.
You Might Also Like

Cara Trading Forex Sukses: 7 Prinsip dari Trader Profesional
Cara trading forex sukses dengan 7 prinsip trader pro: manajemen modal, disiplin, journal trading, backtest. Data nyata, bukan janji profit palsu.
Jam Trading Forex Terbaik untuk Trader Indonesia: Panduan Lengkap dengan Tabel Waktu
Panduan jam trading forex untuk trader Indonesia. Tabel 4 sesi dunia, jam emas 20:00-00:00, sesi mana yang harus dihindari. Data akurat + tips dari trader berpengalaman.
Top 5 Sàn Forex Uy Tín Nhất 2026: Review Jujur dari Trader Indonesia
Top 5 sàn forex uy tín 2026 untuk trader Indonesia. Review jujur: spread, deposit, withdraw, dukungan lokal. Exness, XM, IC Markets & lebih.
Get Pulsar Terminal
All these calculators are built into Pulsar Terminal with real-time data from your MT5 account. One-click position sizing, automatic risk management, and instant calculations.
Get Pulsar Terminal