
Most traders think more indicators mean more clarity.

James Mitchell
Senior Trading Analyst
☕ 11 min read
What you'll learn:
- 1What Makes an Indicator 'Good'? Hint: It's Not Magic
- 2The Momentum King: Relative Strength Index (RSI)
- 3Your Trend Friend: Moving Average Convergence Divergence (MACD)
- 4Simple & Powerful: Moving Averages
- 5For Market Structure: Bollinger Bands®
- 6Putting It All Together: The 3-Indicator Rule
- 7Popular Indicators You Should Probably Avoid
- 8Final Word: Backtest, Then Trade

Most traders think more indicators mean more clarity. They'll stack their charts with a dozen colorful lines, convinced they've found the secret code. I've been there. The truth is, you're just layering confusion on top of noise. A cluttered chart is a losing chart. Let's cut through the nonsense. I'm going to show you the handful of top forex indicators that have paid my bills for over a decade, and explain exactly how to use them without driving yourself insane.
Before we list anything, we need to agree on the criteria. A good indicator isn't a crystal ball. It's a tool that does one of three things well: it measures momentum, defines trend, or identifies potential turning points. More importantly, a good indicator gives you a clear, objective rule to follow. The worst thing you can do is use an indicator that's open to interpretation. If you and I can look at the same chart and argue about what the indicator is saying, it's useless for trading.
My personal litmus test is simple: can I explain its signal to a 10-year-old? If not, I don't touch it. Complexity is the enemy of execution. I learned this the hard way early on, blowing up a $2,500 account by trying to trade a 'harmonic pattern' indicator that gave a new, conflicting signal every time the price moved a few pips. It was a fancy lagging oscillator dressed up as a predictive tool. Total garbage.
Warning: No indicator predicts the future. They all process past price data. Anyone selling you an indicator that 'calls tops and bottoms' is selling you a fantasy, and probably a very expensive one.
The best indicators are boring. They're the ones you've heard of. Their value comes from how you apply them, not from some proprietary black-box algorithm.

The RSI is my desert-island indicator. It's simple, it's visual, and when used correctly, it's brutally effective. It measures the speed and change of price movements on a scale of 0 to 100. The classic mistake? Trading every time it crosses 70 (overbought) or 30 (oversold). In a strong trend, the RSI can stay overbought or oversold for weeks. If you shorted every overbought reading in a bull market, you'd be broke.
How I Actually Use the RSI
I use it for two things: divergence and failure swings. A bearish divergence happens when price makes a higher high, but the RSI makes a lower high. It suggests the uptrend is losing steam. That's your warning sign. I don't sell immediately. I wait for price action to confirm, like a break of a recent swing low.
Here's a real trade from last year on EUR/USD. Price hit 1.1275, a new high. The RSI peaked at 68, then on the next push to 1.1280, the RSI only reached 65. Divergence. I waited for a break below 1.1250 and entered short. I set my stop above the high at 1.1290 (a 40-pip risk) and rode it down for 180 pips. The RSI didn't tell me to enter. It told me to get ready.
Pro Tip: Switch your RSI to a 21-period setting instead of the default 14. It smooths out the noise just enough to make the divergences clearer without lagging too much. Try it on the EUR/USD guide chart and see the difference.
The other use is the failure swing. If the RSI falls below 30, rallies back to, say, 45, then turns down again without hitting 50, that's a bearish failure swing. It's a powerful continuation signal in a downtrend. I've caught some of my biggest moves in gold (XAU/USD guide) using this setup.

💡 Winston's Tip
An indicator is a lamp post for a drunk man: it provides light, not support. Don't lean your entire trade thesis on it.

“Complexity is the enemy of execution.”
The MACD gets misunderstood. People stare at the histogram wiggles or wait for the signal line cross, which is often late. I use it for one primary purpose: trend identification and strength. Is the MACD histogram above the zero line and getting taller? That's a strong uptrend. Is it below zero and getting deeper? Strong downtrend. That's it.
The MACD Zero Line Rule
My cleanest trades come from the MACD zero line rule. When the MACD line (the fast one) crosses above the zero line, it suggests the trend has shifted to bullish. I look for long opportunities on pullbacks, not at the cross itself. Conversely, a cross below zero shifts my bias to bearish.
Let's talk numbers. On a swing trade in USD/JPY, I saw the MACD cross above zero after a long consolidation. Price was at 148.00. I didn't buy then. I waited for a pullback to the 21-period EMA and entered at 147.60. My stop was at 146.90 (70 pips). The trend was now officially 'up' according to the MACD, so I was looking for buys. The trade ran to 151.40. The MACD gave me the context, not the entry.
A common failure is using MACD on lower timeframes for scalping strategy. The whipsaws will destroy you. It's a higher-timeframe tool. I use it on the 1-hour and 4-hour charts to define the environment for my trades on the 15-minute.
Example: MACH Histogram Calculation. It's simply the MACD line minus the Signal line. If MACD is at 0.0015 and Signal is at 0.0010, the histogram bar is +0.0005 (bullish). The actual value matters less than its position relative to the zero line and whether consecutive bars are rising or falling.
Moving averages are the backbone of my chart. They're not really indicators; they're smoothed price lines. And that's their power. I use two: a fast one (like the 21-period Exponential Moving Average) and a slow one (like the 200-period Simple Moving Average).
The 200 SMA is the market's heartbeat. Price above it? General bias is up. Price below it? Bias is down. It's not a trade signal. It's a filter. I will never take a long-term short position if price is trading firmly above the 200 SMA on the daily chart. It's just asking for pain.
The 21 EMA is my dynamic support/resistance and trend guide. In an uptrend, price will tend to pull back to the 21 EMA and bounce. That's where I look for entries. The classic 'golden cross' (50 MA crossing above 200 MA) and 'death cross' are okay for very long-term trend confirmation, but they're so lagging they're almost historical footnotes by the time they trigger.
Here’s a table of how I use them across timeframes:
| Timeframe | 200 SMA Role | 21 EMA Role |
|---|---|---|
| Daily Chart | Primary Trend Filter | Not used for entries |
| 4-Hour Chart | Higher-Timeframe Dynamic S/R | Swing Trade Pullback Zone |
| 1-Hour Chart | Context for Intraday Bias | Primary Intraday Trend & Entry Area |
Remember, a moving average is a magnet in a ranging market and a springboard in a trending one. Knowing the difference is key. Always check the higher timeframe to see which regime you're in.
💡 Winston's Tip
If you find yourself constantly tweaking indicator settings to make past losses look like wins, you're curve-fitting. Stop. The default settings work because everyone sees them.

“The best indicators are boring.”
John Bollinger is a genius. His bands do more than just show volatility. I use them to understand market structure and spot potential breakouts or mean reversion setups. The bands consist of a middle SMA (usually 20-period) and two outer bands set 2 standard deviations away.
The width of the bands is volatility. Squeezed bands = low volatility = potential for a big move (a 'squeeze'). This is where most traders get excited. But the squeeze alone doesn't tell you direction. You need a candle to close outside the band to signal the start of a potential new trend move.
My main use is the 'walk up the band' pattern. In a strong trend, price will often ride the upper (in an uptrend) or lower (downtrend) band. The bands become dynamic support/resistance. A move back inside the band often signals the trend is taking a breather, not reversing.
I once got caught in a nasty fakeout. GBP/USD had a tight squeeze on the 1-hour chart. A big green candle broke above the upper band. I bought the 'breakout.' The next candle was a massive bearish engulfing that closed back inside the bands. I was stopped out for a 50-pip loss. The lesson? A single candle close outside isn't enough. You need follow-through. Now, I wait for two consecutive closes outside the band before considering a breakout valid. This simple rule saved me countless times.
Bollinger Bands are fantastic when combined with a trend indicator. If the MACD indicator is above zero and price is walking up the upper Bollinger Band, you have a confirmed, high-probability uptrend. Don't fight it.
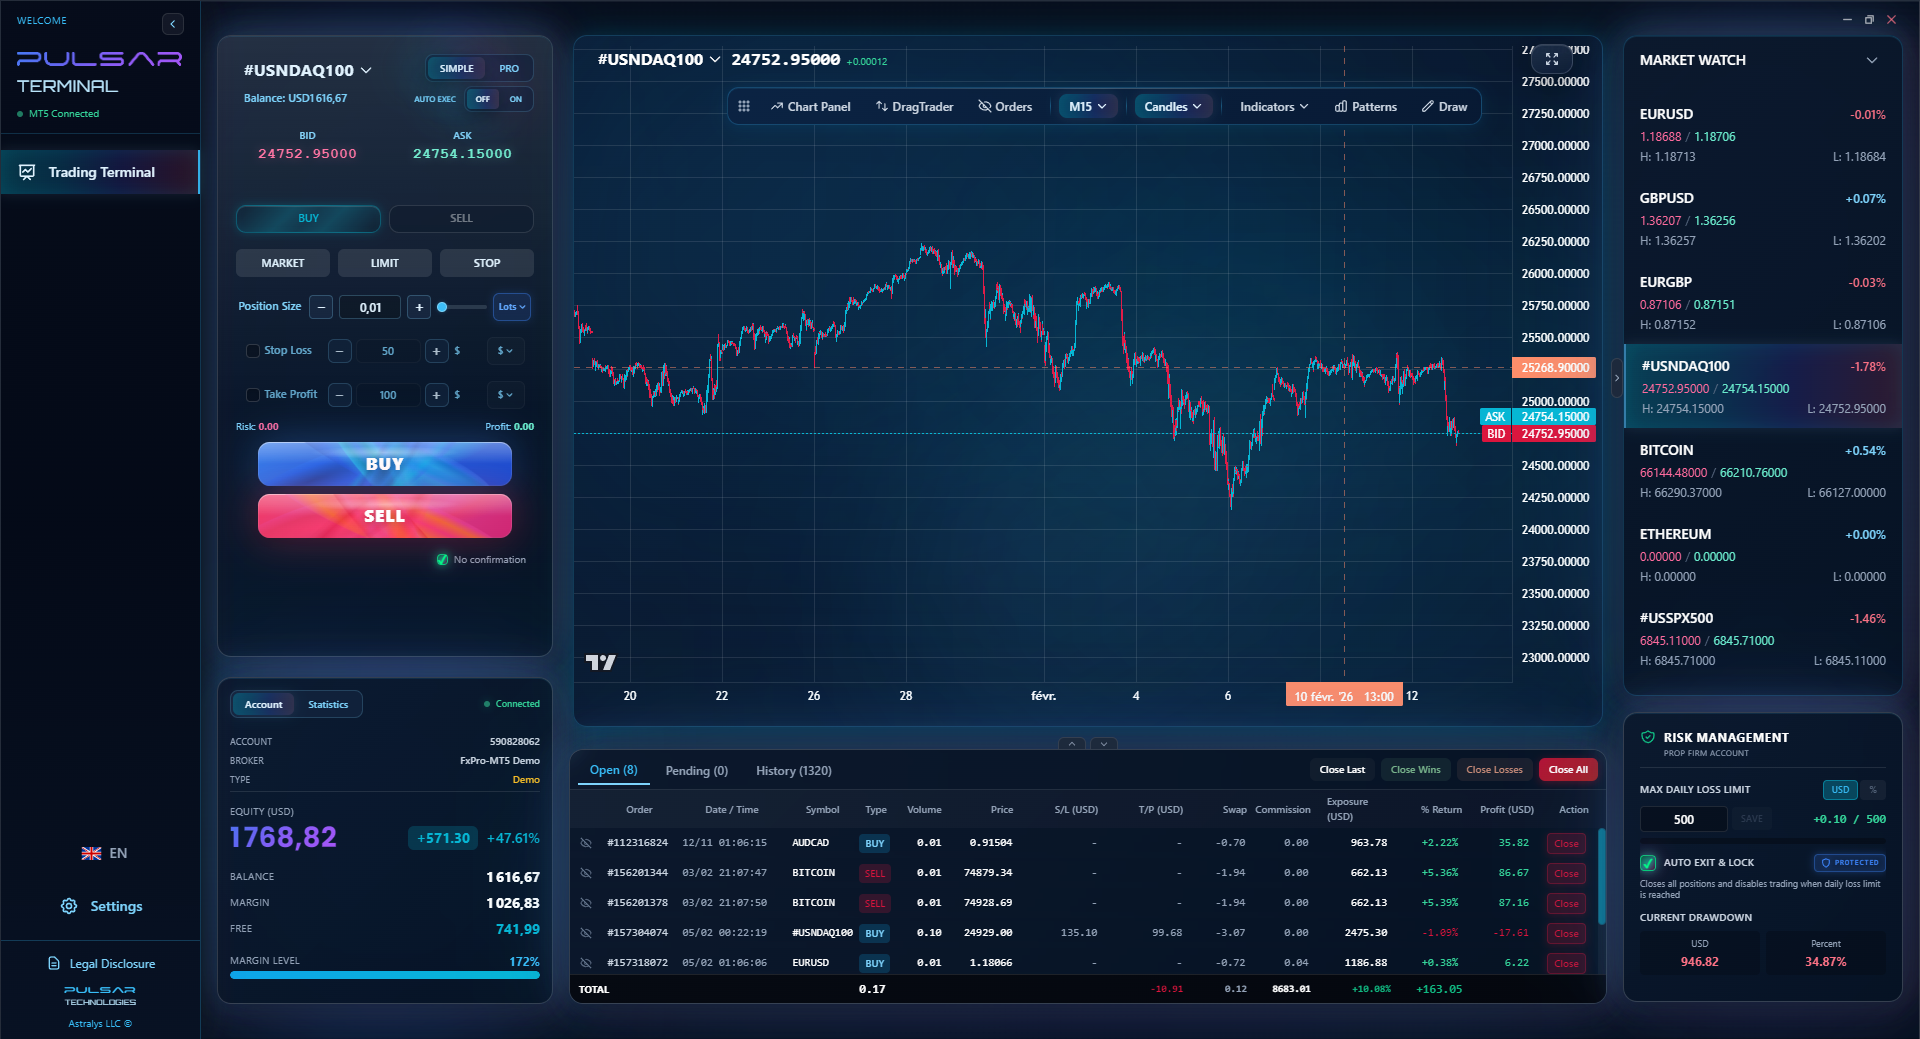
Managing multiple trades with different take-profit levels is a headache, but tools like Pulsar Terminal let you set multi-TP orders with partial closures directly on your MT5 chart, automating your profit-taking plan.
Pulsar Terminal
The all-in-one MT5 companion: drag-and-drop orders, multi-TP/SL, trailing stop, grid trading, Volume Profile, and prop firm protection. Used by 1,000+ traders daily.
This is where the magic happens, and where most traders fail. You don't need all five of these on one chart. In fact, you shouldn't. I operate under a strict 3-Indicator Rule. Any single trade setup must be confirmed by no more than three tools, and one of them must be pure price action (like a support/resistance break or a candlestick pattern).
Here’s my go-to combo for a swing trading setup:
- Trend Context: 200 SMA on the daily chart. Is price above or below? This sets my overall bias.
- Momentum/Entry Signal: RSI divergence or failure swing on the 4-hour chart. This tells me the trend might be ready for a new leg or a reversal.
- Trigger: Price action break of a key level or a pullback to the 21 EMA on the 1-hour chart. This is where I enter.
That's it. No MACD, no Bollinger Bands for this specific setup. Adding them would just confuse the issue. Another combo I like is MACD for trend (zero line), Bollinger Bands for volatility context (squeeze), and a price break for the trigger.
Pro Tip: Your charts should look boring. If they look like a rainbow exploded, you're doing it wrong. Choose your tools for the job, apply them consistently, and for god's sake, use a position size calculator every single time. A great setup with terrible position sizing is still a losing trade.
The key is that each indicator has a specific job. One defines the environment, one gives the signal, and one provides the trigger. When they align, you have what I call a 'high-definition' setup. The noise fades away.
💡 Winston's Tip
The most important indicator is your equity curve. If it's not going up and to the right, your fancy tools don't matter.

“Your charts should look boring. If they look like a rainbow exploded, you're doing it wrong.”
I can feel the hate mail coming, but someone has to say it. The trading industry is built on selling hope, and that means a lot of flashy, useless tools.
- The Stochastic Oscillator: It's just a noisier, more sensitive version of the RSI. It will have you jumping in and out of trades constantly. I haven't had it on my chart in 8 years and I haven't missed it once.
- Parabolic SAR: The dots below price in an uptrend, above in a downtrend. It's a trailing stop-loss system, not an entry indicator. Using it for entries will get you chopped up in sideways markets. If you want a trailing stop, use a proper trailing stop function on your platform.
- Any 'Buy/Sell' Arrow Indicator: If it was that easy, the developer wouldn't be selling it for $99 on the internet. They'd be on a yacht. These are almost always repainted, meaning the arrow appears after the move has happened. It's a visual trick, not analysis.
- The Alligator (Bill Williams): It's just three smoothed moving averages with a fancy name. It doesn't tell you anything a simple EMA combo doesn't.
My advice? Master the classics. The RSI, MACD, Moving Averages, and Bollinger Bands have stood the test of time because they represent core market concepts: momentum, trend, and volatility. You don't need anything else until you can use these in your sleep. And even then, you probably still don't.

Knowing about these top forex indicators is 10% of the battle. The other 90% is developing the discipline to use them within a clear set of rules. Don't just throw them on a chart and start trading with real money.
Pick one combo from the 'Putting It All Together' section. Go to your broker's platform (I use IC Markets review for raw spreads on this kind of testing). Open a demo account or use the historical data feature. Go back 6 months and start forward-testing your rules. Write down every hypothetical trade: the setup, the entry, the stop, the target. Do this for 100 trades. Yes, 100.
You'll learn two things: whether your rules are statistically sound, and whether you have the patience to follow them. This process exposed a huge flaw in my early RSI strategy: I was taking divergences in the middle of ranges, not at key support/resistance. My win rate was abysmal. Backtesting fixed it.
Indicators are a framework. They provide the questions, not the answers. Your job is to listen to what the market is telling you through that framework, manage your risk like a pro (understand your spread definition and margin call risks), and execute without emotion. Start simple. Be brutally consistent. That's how you win.
FAQ
Q1What is the single best forex indicator?
There isn't one. It's like asking for the single best tool in a toolbox. But if I had to pick one for a beginner, it's the RSI. It's versatile for spotting momentum shifts and divergences, and it's easy to understand. Just remember, it's a supporting actor, not the star of the show.
Q2How many indicators should I use on one chart?
As few as possible. I enforce a strict maximum of three, and that includes using price action as one of them. More than three leads to analysis paralysis and conflicting signals. A clean chart leads to clear decisions.
Q3Why do my indicators give signals that are always too late?
Because all standard indicators are lagging. They're based on past price. That's not a bug; it's their nature. Your job is to use them to confirm what price is already starting to do, not to predict what it will do. Use them to assess the strength and context of a move, not to catch the very first pip.
Q4Can I use these indicators for scalping?
You can, but you need to adjust. Moving averages and the RSI can work on very short timeframes, but volatility and spread costs become your biggest enemies. A strategy that works on the 1-hour chart often falls apart on the 1-minute. If you're interested in scalping strategy, you need ultra-low spreads from a broker like Pepperstone review or Exness review and incredibly strict rules.
Q5Do professional traders use indicators?
Yes, but selectively. Many use moving averages and volume-based tools (like Volume Profile, which you can find in advanced platforms). However, they rely heavily on price action, market structure, and order flow. Indicators are just one piece of a much larger puzzle for them.
Q6My indicator worked in a demo account but fails with real money. Why?
Psychology. In demo, there's no fear or greed. With real money on the line, you'll second-guess signals, move stops, and take early profits. The indicator didn't change; you did. This is why rigorous backtesting and a rock-solid trading plan are non-negotiable before going live.
Prof. Winston's Lesson
Key Takeaways:
- ✓Stick to the classic indicators: RSI, MACD, MAs, Bollinger Bands.
- ✓Never use more than 3 tools for a single trade decision.
- ✓Indicators define context; price action provides the trigger.
- ✓Backtest any strategy for at least 100 trades before risking capital.
How useful was this article?
Click a star to rate
Weekly Trading Insights
Free weekly analysis & strategies. No spam.
About the Author
James Mitchell
Senior Trading Analyst
Based in New York with over 9 years of trading experience. Focuses on major USD pairs, prop firm challenges, and the US regulatory landscape.
Comments
Risk Disclaimer
Trading financial instruments carries significant risk and may not be suitable for all investors. Past performance does not guarantee future results. This content is for educational purposes only and should not be considered investment advice. Always conduct your own research before trading.
You Might Also Like

Cara Trading Forex Sukses: 7 Prinsip dari Trader Profesional
Cara trading forex sukses dengan 7 prinsip trader pro: manajemen modal, disiplin, journal trading, backtest. Data nyata, bukan janji profit palsu.
Jam Trading Forex Terbaik untuk Trader Indonesia: Panduan Lengkap dengan Tabel Waktu
Panduan jam trading forex untuk trader Indonesia. Tabel 4 sesi dunia, jam emas 20:00-00:00, sesi mana yang harus dihindari. Data akurat + tips dari trader berpengalaman.
Top 5 Sàn Forex Uy Tín Nhất 2026: Review Jujur dari Trader Indonesia
Top 5 sàn forex uy tín 2026 untuk trader Indonesia. Review jujur: spread, deposit, withdraw, dukungan lokal. Exness, XM, IC Markets & lebih.
Get Pulsar Terminal
All these calculators are built into Pulsar Terminal with real-time data from your MT5 account. One-click position sizing, automatic risk management, and instant calculations.
Get Pulsar Terminal