
Let me guess.

David van der Merwe
Trader dei Mercati Emergenti ·  South Africa
☕ 10 min di lettura
Cosa imparerai:
- 1What an Order Block Really Is (And What It Isn't)
- 2How to Spot a Real Order Block (The 3-Step Filter)
- 3A Simple, High-Probability Trading Strategy
- 4The 3 Biggest Mistakes (And How to Avoid Them)
- 5Order Blocks vs. Supply & Demand Zones: What's the Difference?
- 6Best Timeframes and Currency Pairs to Trade
- 7Taking It Further: Confirmation and Confluence
Let me guess. You've watched a few YouTube videos where some guru draws a box on a chart, calls it an 'order block,' and promises it's the secret key to the bank's vault. You try it, get stopped out, and wonder what you did wrong. I've been there, and so has every trader I know. The truth is, 90% of what's taught about order blocks forex is either dangerously oversimplified or flat-out wrong. It's not about drawing rectangles. It's about understanding why price revisits certain areas and, more importantly, how the big players use those areas to trap retail traders like us. I'll show you the difference.
Forget the fancy definitions. An order block is simply a price zone where a large volume of orders was previously executed, leaving a market memory. When price returns to that zone, it's likely to encounter leftover liquidity and order flow again. Think of it as a footprint in the snow. The institution that left it might come back to check on its position.
The classic mistake? Calling every old candle an order block. A bullish order block isn't just any green candle. It's specifically a candle (or a small cluster) that forms after a strong move down, representing the point where sellers were exhausted and buyers stepped in with significant volume to reverse the trend. The opposite is true for bearish blocks.
I learned this the hard way in 2018. I was short on EUR/USD and saw a 'bearish block' from two days prior. I entered as price revisited it, expecting a rejection. Price sliced right through it like a hot knife through butter, taking out my stop loss before reversing exactly where I'd planned. My mistake? That block was just a random down candle in the middle of a strong uptrend, not a true reversal point. I was looking at the shape, not the story.
Warning: If you're just drawing boxes around every large candle body you see, you're not trading order blocks. You're drawing pretty rectangles and hoping for the best. That's a surefire way to blow your account.
True order blocks are about context. They are the origin points of impulsive moves. You need to see a clear, strong move away from the block first. That move is the evidence that someone big was trading there.

💡 Consiglio di Winston
The market's best trick is making you think an old level is still valid. A true order block needs a fresh, strong move away from it first. No impulse, no block.
You need a filter to separate the signal from the noise. Here's the simple three-step process I use on every chart.
Step 1: Find the Impulse
First, identify a strong, directional candle or a series of candles. This is the 'impulse move.' For a bullish block, look for a powerful up-move. That move must start from a specific candle or a tight group of candles. That's your candidate zone.
Step 2: Check the Retracement
Price must then retrace back to that origin zone. This retracement is the 'mitigation' or 'return to the scene of the crime.' It can be 50%, 61.8%, or even 78.6% of the impulse move. The key is that price comes back to test the block.
Step 3: Watch for the Reaction
This is the most important part. As price enters the block, you need to see a clear rejection or absorption. Look for a pin bar, an engulfing pattern, or simply a slowdown in momentum with small-bodied candles. This is the market telling you the orders are still there.
Let's talk numbers. On a 1-hour chart, a valid impulse candle for a block should be significantly larger than the surrounding candles - think 2-3 times the average range. I won't even look at a block on a timeframe below the 1H; it's too noisy. The 4H and daily are where the cleanest ones form.
Example: On USD/ZAR, I spotted a bullish order block on the 4H chart. The impulse was a 450-pip green candle. Price retraced 180 pips back into the block's range over two days. The reaction was a perfect hammer candle right on the block's low. Entry: 18.2500. Stop loss: 18.2100 (just below the block). First take profit: 18.3500. That trade ran for +1000 pips. The block provided the structure; patience provided the profit.
This process ties directly into understanding swing trading structure, as these blocks often define major swing points.
“An order block isn't a drawing. It's the forensic evidence of a large player's activity.”
Now, let's turn this into a real trade. This isn't a get-rich-quick scheme. It's a methodical approach to trade with the odds.
Entry: Don't buy or sell at the block. Buy or sell on the reaction confirmation. Wait for price to enter the block and then show you a reversal signal. That signal is your entry trigger. For me, that's often a close above the high of a pin bar that forms inside the block.
Stop Loss: This is non-negotiable. Your stop goes just beyond the opposite side of the order block. If the price breaks through the entire block, the premise of your trade is invalid. You're wrong. Get out. For a bullish block, your stop goes slightly below the low of the block. This is where a good position size calculator is essential to ensure your risk is a small percentage of your capital.
Take Profit: I use a multi-target approach. Target 1 (TP1) is at a 1:1 risk-to-reward ratio. This secures some profit and lets you move your stop to breakeven. TP2 is often at the next clear resistance or support level, or at a 1:5 or 1:3 R:R. The initial impulse move's length can give you a rough guide for potential extension.
Here's a painful lesson from my early days: I'd get a perfect entry, price would hit TP1, and I'd move my stop to breakeven. Then, it would reverse, hit my breakeven stop, and immediately rocket to where TP2 would have been. I was leaving thousands of Rands on the table. Now, I only close half my position at TP1, letting the rest run with a trailing stop. Managing the trade is as important as entering it.
This approach requires patience, which is the antithesis of scalping strategy. You might only get 2-3 of these set-ups a week on a major pair, but their quality is far higher.
💡 Consiglio di Winston
Your first target should always be to get to breakeven. A trade that can't survive a 1:1 move has no business being on your screen. Secure the capital, then play for profit.
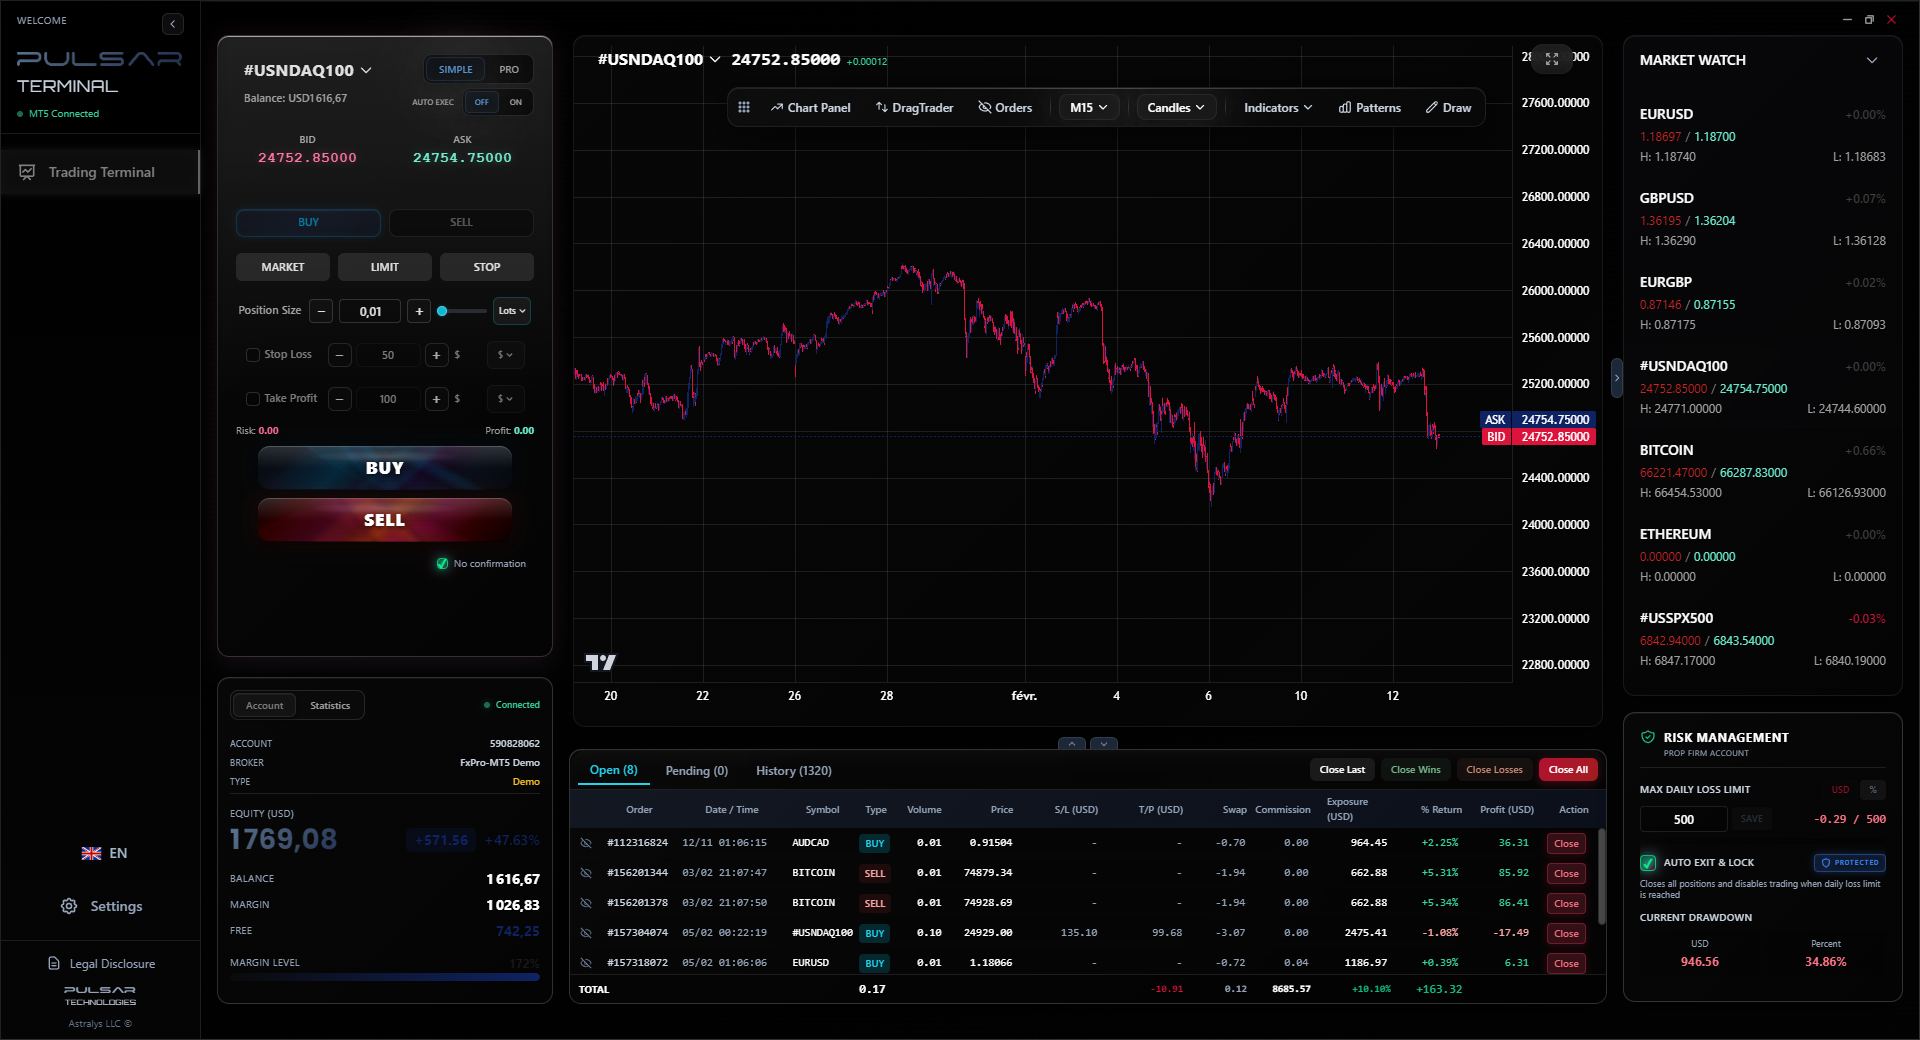
Managing multi-target orders from an order block setup is complex, but tools like Pulsar Terminal automate partial closures and trailing stops directly on your MT5 chart.
Pulsar Terminal
Lo strumento MT5 tutto-in-uno: ordini drag-and-drop, multi-TP/SL, trailing stop, grid trading, Volume Profile e protezione prop firm. Usato da oltre 1.000 trader ogni giorno.
I've made these. My friends have made these. Let's save you the money.
1. Trading Blocks in a Ranging Market. This is the #1 killer. Order blocks are reversal structures. They work best when you have a clear trend that retraces. If the market is chopping sideways, every block you see is fake. You'll get whipsawed to death. Always check the higher timeframe trend first.
2. Ignoring the Overall Liquidity. Institutions place orders where the liquidity is. That's often around old highs and lows, not in the middle of nowhere. An order block that also aligns with a previous daily high or a clear round number (like 1.1000 on EUR/USD) is infinitely stronger. For more on key levels in major pairs, see our EUR/USD guide.
3. Being Impatient with the Reaction. You see price touch the block and immediately jump in. Bad move. You need to see the market's answer. Give it a candle or two to show its hand. Sometimes, price will 'sweep' the block - briefly breaking through to trigger stops - before reversing. If you entered early, you're already out. Wait for the confirmation candle to close.
A broker with tight spreads and reliable execution is critical here, as you're often trading at key levels where slippage can occur. I've had good experiences with IC Markets for this style, as their raw spreads mean you're not giving up edge on entry.
“Trading a block without waiting for the reaction is like shouting your move in a poker game before you see the flop.”
This causes endless confusion. They're cousins, not twins. Here’s the breakdown.
| Feature | Order Block | Supply/Demand Zone |
|---|---|---|
| Definition | A specific candle(s) where an impulse originated. | A broader zone where price reversed sharply. |
| Precision | More precise. Defined by candle bodies/wicks. | Less precise. A wider area. |
| Formation | Requires a clear impulse move away from it. | Defined by a strong, rapid move away from it (a 'base'). |
| Mindset | The exact price where big orders rested. | The area where imbalance occurred. |
Think of it this way: An order block is the specific room in the house where the deal was made. A supply zone is the entire neighbourhood where selling pressure was concentrated.
In practice, I find order blocks more reliable for entries because they're tighter. A supply/demand zone gives you a larger area to work with, which is useful for framing the market, but can lead to vaguer entries. Many traders use them together: a supply zone on the daily chart might contain several smaller order blocks on the 4H chart that you can trade from.
Understanding this distinction helps you read the Market Profile of price action more clearly, as blocks often correspond to high-volume nodes.
💡 Consiglio di Winston
If you find yourself drawing more than three blocks on a single chart, you're not trading. You're decorating. Less is more. One clean block is worth ten messy ones.
Not all charts are created equal for this strategy.
Timeframes: The sweet spot is the 4-hour chart. It's slow enough to filter out market noise but fast enough to give you multiple opportunities a month. The daily chart provides the highest-quality blocks, but you need the patience of a saint. The 1-hour chart can work, but you must be extremely selective and use it primarily for refining entries from a 4H block. Anything below 1H is gambling, not trading.
Currency Pairs: You want pairs with good liquidity and trending characteristics.
- Majors: EUR/USD, GBP/USD, USD/JPY. Clean trends, lots of data. The EUR/USD guide details its typical ranges.
- Commodity Pairs: USD/CAD, AUD/USD. They trend well with commodity cycles.
- Gold (XAU/USD): Excellent for this. It respects technical levels with near-religious fervor. Check our XAU/USD guide for its unique quirks.
- Avoid: Exotic pairs or pairs with massive, unpredictable spreads. As a South African trader, I love USD/ZAR for its big moves, but you must account for its wider spread and higher volatility. It's an advanced play.
A tool that allows you to seamlessly switch between timeframes and draw clean structures is a massive advantage. Manually drawing every block on multiple charts is a chore.
“The difference between a profitable trader and a losing one isn't the entry; it's the ruthless exit when the premise breaks.”
Once you can spot a clean block, the next level is stacking odds in your favor with confluence. A lone order block is a good signal. An order block with 2-3 other factors pointing the same way is a great signal.
1. Fibonacci Confluence: Does the order block align with a key Fib retracement level (like 61.8% or 78.6%) of the prior move? That's a powerful combo.
2. Market Structure Break: Has price recently broken a key swing high (for bullish setups) or swing low (for bearish setups)? The block then becomes a retest of that break.
3. Indicator Support: I use indicators sparingly, but a bullish order block that also coincides with the MACD histogram ticking up from below the zero line? That's worth a second look. The MACD indicator can help gauge momentum shifts.
4. Session Liquidity: A block that forms during the London or New York open overlap is more significant than one that forms in the dead of the Asian session.
Here’s a real example from last month on GBP/USD: A bearish order block on the 4H chart aligned perfectly with the 61.8% Fib retracement of the last down move. Price had also just broken a minor swing low. The reaction candle was a bearish engulfing pattern. That was a triple-confluence setup. The risk was 45 pips, the reward was 220. That's the power of stacking probabilities.
Remember, none of this is foolproof. You will have losing trades. The goal is to have a clear edge over many trades. Always know your exact risk per trade to avoid a margin call.
FAQ
Q1Can I use order blocks for scalping?
You can, but I don't recommend it. The lower timeframes (like 1-minute or 5-minute) are flooded with noise and fake liquidity. The 'order blocks' you see there are often just random price fluctuations. The strategy works best with the momentum and volume found on higher timeframes (1H and above). If you must scalp, use a higher timeframe block to determine your bias, then look for an entry on a lower timeframe.
Q2How many pips should an order block be?
It's not about a fixed pip count, but about proportion. A valid block should be clearly identifiable - its candle(s) should be larger than the candles in the preceding consolidation or retracement. On a 4H EUR/USD chart, this might be 40-80 pips. On USD/ZAR, it could be 200+. Focus on the visual prominence relative to recent price action.
Q3Do order blocks work on indices and cryptocurrencies?
They work on any liquid market driven by order flow. They are very effective on major indices like the S&P 500. For cryptocurrencies, they can work, but be extremely cautious. Crypto markets are less mature and more prone to manipulation and extreme volatility, which can distort or invalidate classic structures faster than in Forex.
Q4What's the best way to mark order blocks on a chart?
Keep it simple. Use a rectangle tool. For a bullish block, draw the rectangle from the low to the high of the initiating bullish impulse candle(s). Use a subtle green fill with high transparency. For bearish, use red. The key is consistency. Don't clutter your chart with dozens of boxes; only mark the most recent and relevant ones.
Q5How often should I expect a high-quality order block setup?
On a single major currency pair like EUR/USD, you might see 1-3 truly high-probability order block setups per week on the 4-hour chart. Patience is the core skill. Forcing trades when the setup isn't there is the fastest way to lose. It's better to watch and wait for the A+ setup than to trade every B- setup you see.
Q6Can I combine order blocks with price action patterns?
Absolutely, and you should. An order block that produces a pin bar, an inside bar, or an engulfing pattern as its reaction signal is a much stronger setup than a block where price just slowly drifts away. The block gives you the location, the candlestick pattern gives you the precise entry trigger.
Lezione del Prof. Winston
Punti chiave:
- ✓A valid order block requires a clear impulse move away from it first.
- ✓Always enter on confirmation, not on first touch of the block.
- ✓Place your stop loss just beyond the opposite side of the block.
- ✓The 4-hour chart is the optimal timeframe for balancing quality and opportunity.
- ✓Combine blocks with one other confluence factor (like a Fib level) to stack odds.
Quanto è stato utile questo articolo?
Clicca su una stella
Analisi Trading Settimanali
Analisi e strategie settimanali gratuite. Nessuno spam.
Sull'autore
David van der Merwe
Trader dei Mercati Emergenti
Trader con base a Johannesburg con 11 anni di esperienza nelle valute dei mercati emergenti. Specializzato in coppie ZAR, trading regolamentato dalla FSCA e analisi del mercato sudafricano.
Commenti
Avviso di rischio
Il trading di strumenti finanziari comporta rischi significativi e potrebbe non essere adatto a tutti gli investitori. Le performance passate non garantiscono risultati futuri. Questo contenuto è fornito solo a scopo educativo e non deve essere considerato un consiglio di investimento. Conduci sempre le tue ricerche prima di fare trading.
Potrebbe interessarti anche

Cara Trading Forex Sukses: 7 Prinsip dari Trader Profesional
Cara trading forex sukses dengan 7 prinsip trader pro: manajemen modal, disiplin, journal trading, backtest. Data nyata, bukan janji profit palsu.
Jam Trading Forex Terbaik untuk Trader Indonesia: Panduan Lengkap dengan Tabel Waktu
Panduan jam trading forex untuk trader Indonesia. Tabel 4 sesi dunia, jam emas 20:00-00:00, sesi mana yang harus dihindari. Data akurat + tips dari trader berpengalaman.
Top 5 Sàn Forex Uy Tín Nhất 2026: Review Jujur dari Trader Indonesia
Top 5 sàn forex uy tín 2026 untuk trader Indonesia. Review jujur: spread, deposit, withdraw, dukungan lokal. Exness, XM, IC Markets & lebih.
Scarica Pulsar Terminal
Tutti questi calcolatori sono integrati in Pulsar Terminal con dati in tempo reale dal tuo conto MT5.
Scarica Pulsar Terminal