
I lost R4,200 on a single USD/ZAR trade in 2018 because I trusted a textbook stochastic signal.

David van der Merwe
Pedagang Pasaran Membangun ·  South Africa
☕ 10 minit baca
Apa yang akan anda pelajari:
- 1What the Hell is a Stochastic Oscillator, Really?
- 2Settings That Actually Work for ZAR Pairs and Volatility
- 3The Only Three Stochastic Setups I Still Trust
- 4How South African Traders Screw This Up (I Did Too)
- 5Making the Stochastic Part of a Team
- 6A Real Example: Trading USD/ZAR with the Stochastic
- 7When to Throw the Stochastic Out the Window
- 8Should You Even Bother? My Final Take
I lost R4,200 on a single USD/ZAR trade in 2018 because I trusted a textbook stochastic signal. The chart showed an oversold reading below 20, I bought, and the rand just kept getting hammered. The indicator stayed oversold for days while my account bled. That trade taught me the hard truth: the stochastic oscillator isn't a magic buy/sell button, especially in our volatile market. It's a tool, and like any tool, it's useless if you don't know its quirks, its flaws, and the specific context it needs to work. This guide is what I wish I'd known back then.
Forget the complex math for a second. The stochastic indicator, created by George Lane, measures where a currency pair's current closing price is relative to its price range over a set period. Think of it like this: is the price hanging out near the top of its recent party zone, or is it sulking at the bottom? It gives you a reading between 0 and 100.
Above 80 generally means 'overbought' (maybe due for a pullback). Below 20 means 'oversold' (maybe due for a bounce). The key word is 'maybe'. The main line is %K. The smoother, slower line is %D, which is just a moving average of %K. The default setting is 14 periods for %K and 3 for %D, which is a decent starting point for most forex pairs, including our beloved ZAR crosses.
Warning: An overbought reading in a roaring bull trend isn't a sell signal. It's a sign of strength. I've seen EUR/USD ride an overbought stochastic for weeks. Using it alone to pick tops and bottoms is a surefire way to fund someone else's BMW.
South Africa's market has its own rhythm. Our session overlaps with Europe, liquidity in ZAR pairs like USD/ZAR or EUR/ZAR can dry up, and political news can cause spikes that would make a European trader faint. The default 14,3,3 settings can be too slow to catch our moves.
Adjusting for Speed
For scalping USD/ZAR on a 15-minute chart, I often use a faster 10,3,3 stochastic. It's more responsive. The trade-off? More false signals and whipsaws. For swing trading the same pair on a 4-hour chart, I might slow it down to 21,5,5 to filter out the noise and focus on more meaningful momentum shifts. There's no holy grail. You must backtest. I spent a weekend testing different settings on 6 months of GBP/ZAR data and found a 18,4,4 setup reduced false crosses by about 30% compared to the default for my style.
The Smoothing Factor
That third number (the second %D) is the smoothing factor. Increasing it (e.g., from 3 to 5) makes the lines smoother and signals fewer but potentially more reliable crosses. Decreasing it makes the indicator twitchier. For our market's volatility, a slightly higher smoothing can help you keep your sanity.
Pro Tip: Don't copy my settings. Take a major pair like EUR/USD and a ZAR pair like USD/ZAR. Plot the default stochastic on both. See how the ZAR pair's line is more jagged? That's volatility. Your job is to adjust the settings to smooth out the useless noise, not the real signal.
“The stochastic indicator isn't a magic buy/sell button, especially in our volatile market.”
After a decade, I've boiled it down to three high-probability setups. The rest is just chart clutter.
1. The Overbought/Oversold Bounce (With a Trend Filter)
This is the classic, but with a critical filter. Don't just sell at 80. Wait for the stochastic to cross back below 80 (or above 20 for a buy) as confirmation the momentum is shifting. Crucially, only take this signal in the direction of the higher timeframe trend. On a daily chart trending up, I only look for oversold bounces (buy signals) on the 4-hour or 1-hour chart. This one rule saved me countless bad trades.
2. The Stochastic Divergence
This is the king of stochastic signals. Regular divergence: Price makes a higher high, but the stochastic makes a lower high. That's a warning the uptrend is losing steam. Hidden divergence: Price makes a lower low, but stochastic makes a higher low. That often signals a trend continuation. I caught a great 180-pip move on EUR/USD using hidden bullish divergence on the 1-hour chart. Price dipped to 1.0720, stochastic made a higher low, I entered long at 1.0735 with a tight stop.
3. The Centerline Crossover
This is simpler. When the %K line crosses above the 50 level, it suggests bullish momentum is taking control. A cross below 50 suggests bearish momentum. It's not an entry signal on its own, but a fantastic filter. I will only consider long trades when the stochastic is above 50, and shorts when it's below. It keeps you on the right side of the medium-term momentum. Pair this with a simple MACD indicator cross for a strong trend-confirmation system.

💡 Petua Winston
The stochastic is most honest when it disagrees with the obvious price move. A new price high with a lower stochastic high (divergence) is the market whispering a secret.
We have unique pitfalls here.
Mistake 1: Trading ZAR Pairs Like Majors. USD/ZAR doesn't respect stochastic levels like EUR/USD does. It can sit at 85 (overbought) for an entire London session during a risk-off flight to the dollar. Using the indicator in isolation is suicide. You must check commodity prices (gold, platinum), SA bond yields, and general EM sentiment.
Mistake 2: Ignoring the Spread. On exotic pairs, the spread is a monster. Let's say you're scalping using a stochastic bounce on USD/ZAR. Pepperstone might have a 5-pip spread. Your potential profit might be 15 pips. The spread just ate a third of your profit before you even started. Your stochastic signal needs to be much stronger to justify the trade. Always factor in the spread definition and costs from your broker, whether it's Exness, IC Markets, or another.
Mistake 3: No Risk Management. You see a perfect divergence. You go all in. A surprise SARB announcement gaps the price against you. Without a proper stop-loss and sane position size calculator, you're done. The stochastic doesn't know about upcoming news. In 2021, I had a beautiful bearish divergence on GBP/ZAR. I entered, but didn't place a stop-loss because 'the signal was so perfect.' A sudden hawkish comment from the BOE ripped the pair up 300 pips in minutes. I learned about margin call the hard way that day.
Mistake 4: Using it on the Wrong Timeframe. The stochastic is noisy on very short timeframes (like 1-minute charts) for most people. It's also lagging on very long timeframes (weekly) for entry timing. Its sweet spot for active traders is between the 1-hour and 4-hour charts.
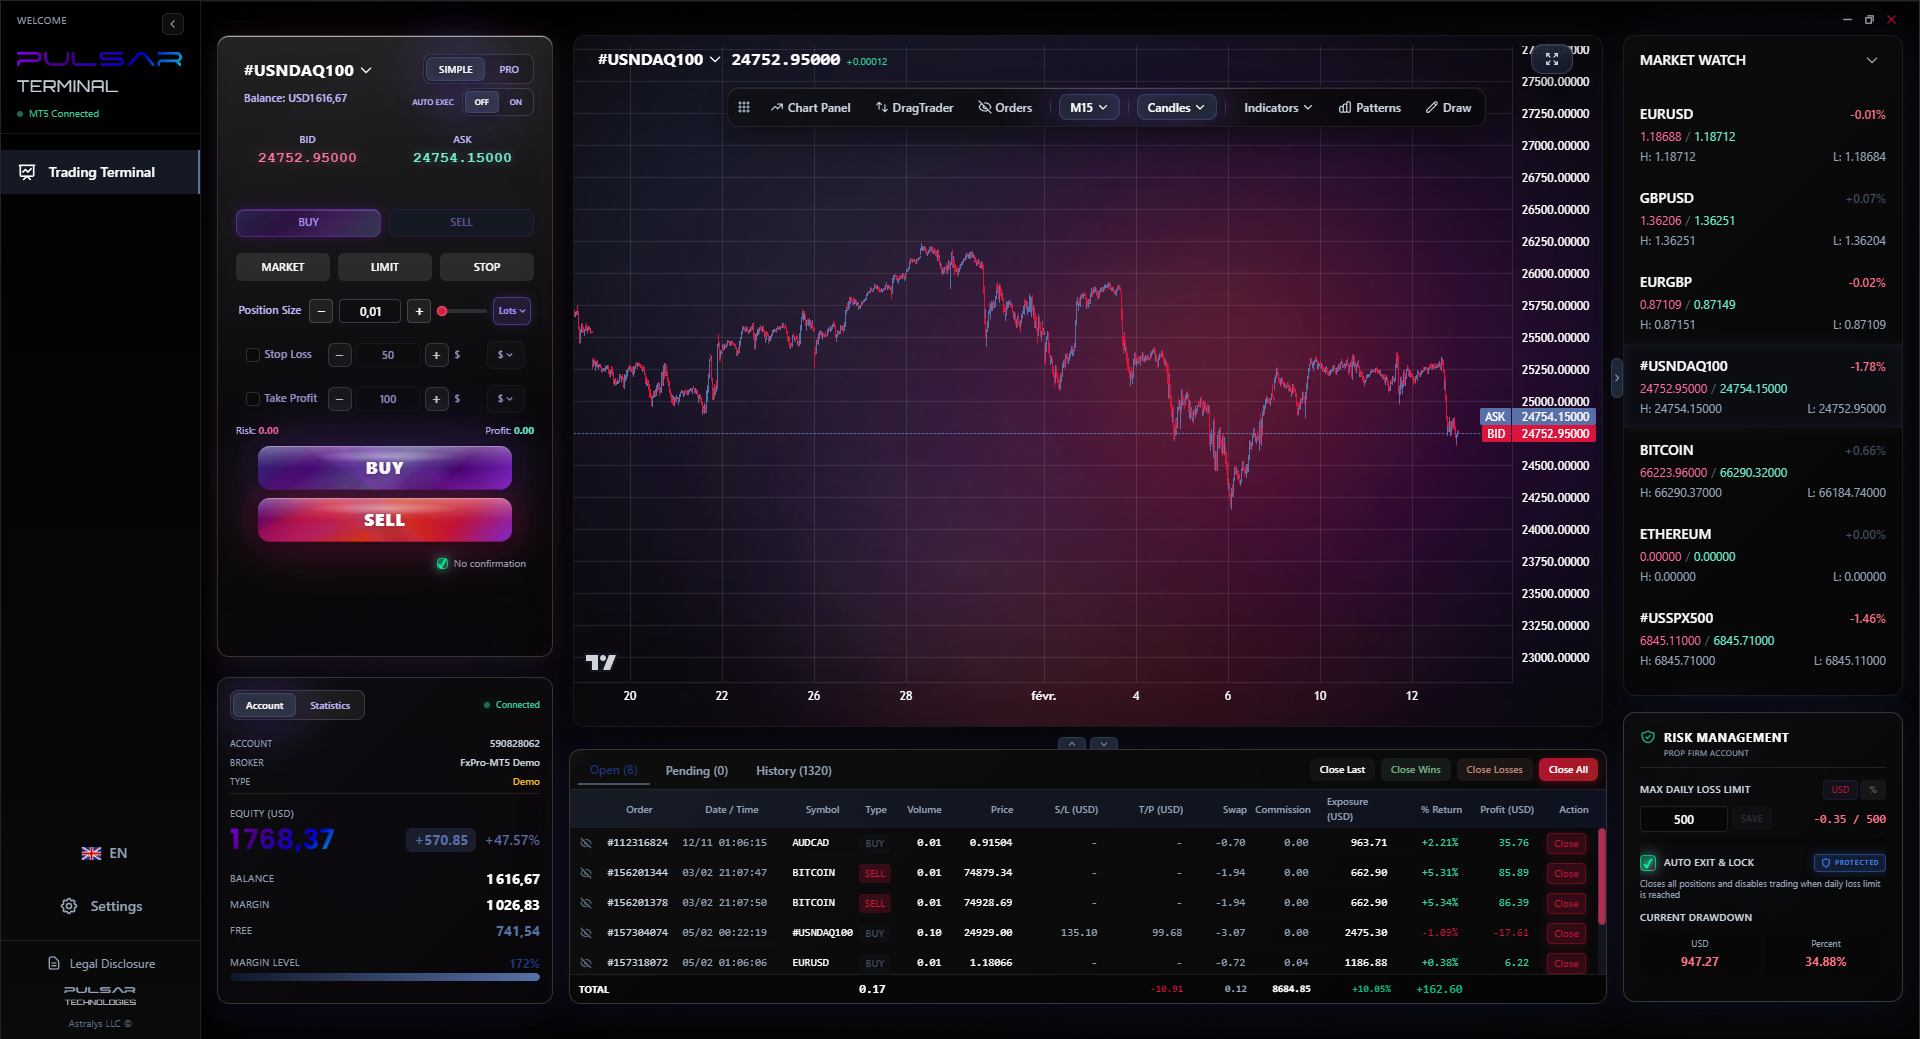
Managing multiple trades based on stochastic signals across different pairs is complex, but tools like Pulsar Terminal allow you to set multi-level take-profits and trailing stops directly on your MT5 charts, automating your exit strategy so you can focus on finding the next setup.
“An overbought reading in a roaring bull trend isn't a sell signal. It's a sign of strength.”
The stochastic is the supporting actor, not the star. Here’s how I build a system around it.
The Trend Trio:
- 200 EMA on H4/Daily: Determines the primary trend. Green light for longs above it, shorts below.
- Stochastic (14,3,3) on H1/H4: Identifies momentum shifts and entries within that trend.
- Horizontal Support/Resistance: The final decision-maker. I only take a stochastic buy signal if it's occurring at a proven support level. No support? No trade.
For Scalping Strategy: On a 5-minute chart, I combine a fast (8,3,3) stochastic with a 20-period Bollinger Band. A buy signal occurs when price touches the lower band AND the stochastic is crossing up from oversold. The take-profit is often the middle band. It's tight, it's quick, and it requires a broker with razor-thin spreads.
For Swing Trading: Here, I use the stochastic primarily for divergence spotting on the 4-hour chart. I confirm it with a break of a key trendline on the price chart itself and use the RSI indicator to check for overextended conditions. The entry is on a retest of the broken level with a stochastic centerline crossover as the final trigger.
| Your Tool | Its Job in the Team |
|---|---|
| Trend Indicator (e.g., EMA) | The Coach. Sets the game plan (Trade Long or Short?). |
| Support/Resistance | The Field. Defines where the play happens (Where to enter?). |
| Stochastic Oscillator | The Quarterback. Calls the audible at the line (Is momentum right now?). |
Let's walk through a live market concept. It's March, risk sentiment is shaky.
Step 1: The Trend. The daily chart shows USD/ZAR above its rising 200 EMA. Trend is up. We only look for buy (long) setups or avoid shorts.
Step 2: The Pullback. On the 4-hour chart, price pulls back from a high of R18.90 to R18.55. It's approaching a previous consolidation support area around R18.50.
Step 3: The Stochastic. On that 4-hour chart, our stochastic (set to 18,4,4) dips into oversold territory, below 20. We wait. We don't buy just because it's oversold.
Step 4: The Signal. Price touches R18.52 and holds. The stochastic %K line then crosses above the %D line while still in oversold territory, and starts hooking up. This is our momentum confirmation.
Step 5: The Trade. Entry: R18.55 (after the cross is clear). Stop-loss: R18.42 (just below the key support). Take-profit: R18.80 (near prior high). Risk: 13 cents (R0.13). Reward: 25 cents (R0.25). Almost a 1:2 risk-reward ratio.
The Reality Check: Before you enter, you check the spread. If it's 5 pips (R0.05), your real risk from entry to stop is now R0.18. Your reward is R0.25. The spread significantly altered your risk-reward. You might decide to wait for an even better entry or a tighter stochastic coil to justify it. This is the real work.
💡 Petua Winston
If you find yourself constantly adjusting your stochastic settings to make past losses 'look' like bad signals, the problem isn't the indicator. It's your strategy. Stop tweaking and go back to the basics.
“Your toolkit for trading ZAR pairs should look like this: a reliable FSCA-regulated broker, a solid understanding of pip values on exotics, a risk management spreadsheet, and then your charting tools.”
This indicator has blind spots. Recognizing them is more important than knowing the signals.
1. During High-Impact News: When SARB interest rate decisions, budget speeches, or US NFP data hits, price moves on pure order flow. Momentum indicators like the stochastic are lagging and worthless in the initial volatility. I got stopped out of a perfectly good trade because I ignored this and left it on during a Fed announcement.
2. In Strong, Linear Trends: In a powerful, news-driven trend (like a risk-off dollar surge), the stochastic will become and stay overbought or oversold. Selling because it's overbought is like standing in front of a speeding train. Use price action and trend-following tools instead.
3. In Low-Liquidity Sessions. Late Friday New York session or early Monday Asia session on a ZAR pair? The price action is thin and choppy. The stochastic will give wild, meaningless crosses. Just don't trade then.
4. When You're Looking for Confirmation Bias. This is the psychological killer. You're already long on GBP/ZAR and it's going against you. You stare at the stochastic, willing it to show oversold divergence to justify holding your losing trade. It's a tool for analysis, not a therapist for your bad decisions.
The stochastic indicator forex is a permanent fixture on my charts, but it's been demoted over the years. Fifteen years ago, it was one of my primary tools. Now, it's a specialized assistant for spotting momentum divergences and fine-tuning entries in a well-defined setup.
For a new South African trader, it's a fantastic learning tool. It teaches you about momentum, overbought/oversold conditions, and divergence. It's visual and intuitive. But you must graduate from using it in isolation.
Build your primary strategy on trend, support/resistance, and fundamental context (what's driving the rand?). Then, and only then, use the stochastic to help you decide when to pull the trigger. It's the seasoning, not the steak.
Your toolkit for trading ZAR pairs should look like this: a reliable FSCA-regulated broker (like XM or Pepperstone), a solid understanding of pip values on exotics, a risk management spreadsheet, and then your charting tools. The stochastic has a seat at that table, but it doesn't get to pick the music. Keep it in its lane, and it will serve you well for years.
FAQ
Q1What are the best stochastic settings for scalping in South Africa?
There's no single 'best,' but for scalping volatile pairs like USD/ZAR on low timeframes (5-15 min), a faster setting like 10,3,3 can be more responsive. Remember, faster means more false signals. You must compensate with ultra-tight stops and a broker with minimal spread. Always test in a demo account first with your specific scalping strategy.
Q2Why does the stochastic give bad signals on USD/ZAR?
It's not that the signals are inherently bad; the context is wrong. USD/ZAR is an exotic pair influenced heavily by global risk sentiment and local SA politics, not just technical momentum. A stochastic can be oversold for a long time during a sustained dollar rally. You need to filter its signals with major support/resistance levels and broader market sentiment.
Q3Can I use the stochastic indicator alone to trade forex profitably?
No. Absolutely not. I've never met a consistently profitable trader who uses any single indicator alone, least of all an oscillator like the stochastic. It's a recipe for getting whipsawed. It must be part of a system that defines trend, entry zones, and, crucially, risk management.
Q4What's the difference between RSI and stochastic?
Both are momentum oscillators, but they measure different things. The RSI measures the speed and magnitude of price moves. The stochastic measures the closing price's position within a recent range. In practice, the stochastic tends to be more sensitive and can give more signals (and more false ones). The RSI can sometimes be better for spotting extreme overbought/oversold conditions. Many traders, myself included, use both to confirm each other.
Q5How do I avoid false stochastic crossover signals?
Two ways: 1) Increase the smoothing. Change the settings from 14,3,3 to 14,5,5 or 21,7,7. This slows it down and filters out minor noise. 2) Add a trend filter. Only take crossover signals that align with the direction of a higher timeframe moving average (like a 50 or 200 EMA). If the H4 trend is down, only take stochastic sell signals on the H1 chart.
Q6Is the stochastic indicator good for identifying trend reversals?
It's better at warning of potential reversals or loss of momentum than calling the exact top or bottom. A classic bearish divergence (price higher high, stochastic lower high) is a strong warning that upward momentum is fading. It doesn't mean 'sell now.' It means 'be alert, look for a price structure break (like a lower low) or other confirmation to consider a short.'
Pelajaran Prof. Winston
:
- ✓Never trade a stochastic signal without a trend filter.
- ✓Divergence is the highest-probability signal it offers.
- ✓On USD/ZAR, the spread can ruin a perfect stochastic setup.
- ✓Ignore it completely during major SA or US news events.
Sejauh mana artikel ini berguna?
Klik bintang untuk menilai
Pandangan Dagangan Mingguan
Analisis & strategi mingguan percuma. Tiada spam.
Tentang Penulis
David van der Merwe
Pedagang Pasaran Membangun
Pedagang berpangkalan di Johannesburg dengan 11 tahun dalam mata wang pasaran membangun. Pakar dalam pasangan ZAR, dagangan terkawal FSCA, dan analisis pasaran Afrika Selatan.
Komen
Anda mungkin juga suka

Cara Trading Forex Sukses: 7 Prinsip dari Trader Profesional
Cara trading forex sukses dengan 7 prinsip trader pro: manajemen modal, disiplin, journal trading, backtest. Data nyata, bukan janji profit palsu.
Jam Trading Forex Terbaik untuk Trader Indonesia: Panduan Lengkap dengan Tabel Waktu
Panduan jam trading forex untuk trader Indonesia. Tabel 4 sesi dunia, jam emas 20:00-00:00, sesi mana yang harus dihindari. Data akurat + tips dari trader berpengalaman.
Top 5 Sàn Forex Uy Tín Nhất 2026: Review Jujur dari Trader Indonesia
Top 5 sàn forex uy tín 2026 untuk trader Indonesia. Review jujur: spread, deposit, withdraw, dukungan lokal. Exness, XM, IC Markets & lebih.
All these calculators are built into Pulsar Terminal with real-time data from your MT5 account. One-click position sizing, automatic risk management, and instant calculations.