
Here's a stat that changed my trading: about 80% of all ZAR trading happens offshore, outside our control.

David van der Merwe
Трейдер развивающихся рынков ·  South Africa
☕ 10 мин чтения
Что вы узнаете:
- 1What Supply and Demand Forex Actually Means (It's Not What You Think)
- 2How to Draw Zones Correctly (Most People Mess This Up)
- 3Trading ZAR Pairs with Supply and Demand
- 4Getting In: Patience and Confirmation
- 5Risk Management and Playing by the FSCA's Rules
- 6Mistakes I Made (So You Don't Have To)
- 7Brokers and Tools for the South African Trader

Here's a stat that changed my trading: about 80% of all ZAR trading happens offshore, outside our control. That means the real price moves aren't dictated by local news, but by massive institutional orders you can learn to see. Supply and demand forex trading isn't about predicting the news; it's about finding those invisible lines on the chart where the big players have already placed their bets. I'll show you how to spot these zones in our volatile market, how to trade them without getting shredded by spreads on the Rand pairs, and how to do it all while keeping the FSCA happy.
Forget the economics textbook. In the forex market, supply and demand zones aren't about global trade flows or mining output. They're specific price areas where institutional traders - the guys moving billions - have previously placed a huge number of orders. A demand zone is where they bought so much it stopped the price from falling. A supply zone is where they sold so much it capped a rally.
Think of it like this: the market is an auction. At a certain price, all the buyers showed up and cleared out every seller's offer. The price rockets up. That price level becomes a 'demand' zone because the memory of that buying frenzy is still there. When price returns, buyers are likely to step in again. It's pure auction theory, not guesswork.
The key is that these zones are imbalanced. The buying or selling was so one-sided it left a footprint. Your job is to find that footprint, not predict the future. I used to chase news on USD/ZAR, thinking I was smart. I'd lose 50 pips on a spread and another 100 on a whipsaw. Then I started marking these zones on a higher timeframe and waiting. My first real win was buying USD/ZAR at 18.25, a clear demand zone from two weeks prior. I held for 220 pips. The news that day was actually negative for the dollar, but price respected the zone and rallied anyway. That's when it clicked.
Example: Let's say EUR/USD rallies from 1.0800 to 1.0950. At 1.0950, it stalls, reverses sharply, and forms a clear bearish candle on the daily chart. That 1.0950 area becomes a supply zone. The next time price climbs back to 1.0930-1.0950, you're looking for a rejection to go short, because that's where the previous massive selling occurred.
This is where 90% of traders fail. They draw a box around every little wiggle. A true zone is defined by a strong, decisive move away from a price level.
The Base and the Drop
For a demand zone, you need a base (where price consolidated before moving) and a drop (the sharp rally away from it). You draw your zone from the top of the base to the bottom of the first candle in the rally. The opposite is true for supply: a base, then a sharp drop. The zone should be a rectangle, not a random shape.
Timeframe Hierarchy
You can't just look at the 5-minute chart. You need a top-down approach. I start on the daily chart to find major zones. Then I drop to the 4-hour and 1-hour to find more recent, precise zones within those larger areas. A zone on the daily chart is like a city; a zone on the 1-hour is a specific street address. You want to trade the address, but know which city it's in.
I learned this the hard way. I kept getting stopped out trading a 1-hour demand zone, only to watch price fall into a much larger daily supply zone I'd completely missed. The bigger timeframe always wins. Now, I won't take a trade unless my entry zone aligns with at least one higher timeframe zone. It's saved my account more times than I can count.
Warning: Don't redraw your zone every time price touches it. A zone weakens with each test. The strongest trade is the first or second test after the zone is formed. By the third or fourth touch, the big orders have likely been filled, and the zone is probably useless.

💡 Совет Уинстона
A zone is only valid if you can point to the 'drop from base' or 'rally from base' that created it. No explosive move, no zone. Just noise.

“Supply and demand forex trading isn't about predicting the news; it's about finding those invisible lines on the chart where the big players have already placed their bets.”
Trading USD/ZAR, EUR/ZAR, or GBP/ZAR with this strategy requires a specific mindset. Remember that 1% of global turnover but $21 billion daily volume? That's pure volatility. Spreads can be wide, especially around SA market open (8-9 AM) and during major data releases.
Here’s my rule: I only enter ZAR trades on a limit order placed in the zone. No market orders. Why? Because if USD/ZAR is flying toward my demand zone at 18.50 and the spread is 15 pips, a market order might fill me at 18.65, completely outside the zone. A limit order at 18.50 ensures I only get filled where the edge is.
You also have to factor in the offshore liquidity. A supply zone on USD/ZAR might get smashed through if a massive offshore fund decides to buy the dip, ignoring the technicals. That's why position sizing is non-negotiable. I never risk more than 0.5% of my capital on a single ZAR trade. The position size calculator is my best friend for this. The volatility can gift you 500-pip days, but it can take them back twice as fast.
I focus on USD/ZAR because it has the most liquidity. My best trade last year was shorting GBP/ZAR at a supply zone around 23.80. The zone was formed after a massive 400-pip drop. Price returned, stalled exactly there, and I got in. I took partial profits at 23.20 and let the rest run. It's a classic swing trading setup, but the entry was pure supply and demand.
💡 Совет Уинстона
On ZAR pairs, your zone must be at least 2-3 times the average spread wide, or you're just trading the broker's markup.
Seeing a zone is one thing. Knowing when to pull the trigger is another. I don't just buy the second price touches a demand zone. I wait for a sign that the buyers are back.
My favorite confirmation is a price action rejection. That means a bullish pin bar, an engulfing candle, or a simple strong bullish close right inside the zone. On the EUR/USD, I might see a nice pin bar tail that dips into my demand zone and closes above it. That's my signal. I'll place my stop loss just below the low of that rejection candle.
You can use indicators, but keep them simple. I sometimes use the RSI indicator to check for divergence. If price is making a lower low into a demand zone but RSI is making a higher low, that's a strong confirmation of weakening selling pressure. But the price action is king. The indicator just adds conviction.
The hardest part is the wait. Sometimes price will kiss the zone and reverse without giving you a perfect entry candle. You have to let it go. There will be another zone. Overtrading is the fastest way to turn this edge into dust. I've sat for three days watching USD/ZAR approach a zone, only for it to reverse 5 pips before my limit order. It's frustrating, but it's better than a losing trade.
“The hardest part is the wait. Sometimes price will kiss the zone and reverse without giving you a perfect entry candle. You have to let it go.”
Trading with a South African broker regulated by the FSCA gives you peace of mind - your funds are in segregated accounts. But it doesn't change your market risk. Your risk management is your own responsibility.
First, always know your broker's specific policies on margin call levels. Don't push your use. With the volatility in our market, high use is a guaranteed account killer.
Second, be aware of the tax landscape. The rules changed in late 2025. If you're successful and have non-resident investors or you're moving profits offshore, you need to be tax compliant with SARS. Your bank will ask for a TCS-AIT PIN before sending money out. Keep clean records of all your trades. This isn't just good practice; it's essential under the new Exchange Control Circulars.
For your actual trades, the 1% risk rule is a good start. But with supply and demand, I use a zone-based stop loss. My stop is always placed just beyond the opposite side of the zone. If the zone is truly valid, price shouldn't go there. If it does, my thesis is wrong, and I need to be out. My profit target is usually the next obvious supply or demand zone on the chart. This often gives a risk-to-reward ratio of 1:2 or better.
Pro Tip: Use a trailing stop once your trade is in profit and approaching a historical supply/demand area. You can manually trail it below recent swing lows, or use a tool that automates it. Locking in profits is how you compound gains, especially on a runaway ZAR move.
💡 Совет Уинстона
The first test of a fresh zone has the highest probability. The third test is a gamble. Know the difference.

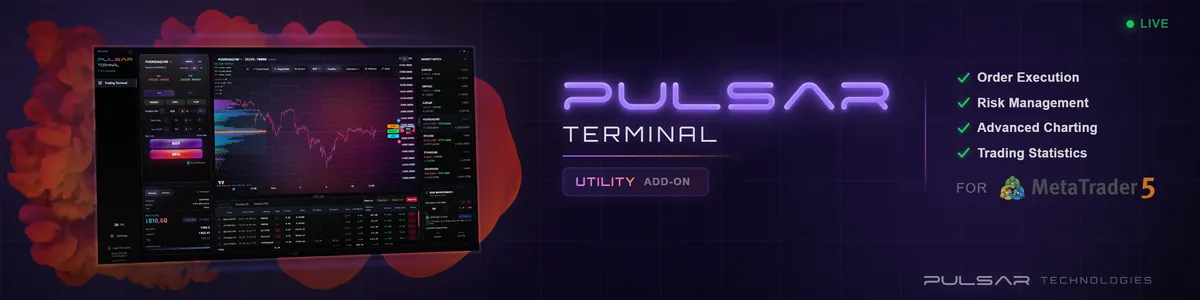
Managing multiple trades and trailing stops across volatile ZAR pairs is a hassle, but tools like Pulsar Terminal automate partial closures and trailing stops directly on your MT5 charts.
Pulsar Terminal
Универсальный инструмент для MT5: drag-and-drop ордера, мульти-TP/SL, трейлинг-стоп, грид-трейдинг, Volume Profile и защита для проп-фирм. Используется 1000+ трейдерами ежедневно.
Let me be brutally honest about where I blew up my first decent account. It wasn't a lack of knowledge; it was a lack of discipline around this strategy.
Mistake 1: Trading Every Zone. I had charts covered in boxes. I was trading 10 times a week. Most zones are mediocre. You only want the pristine ones: fresh zones (created within the last 10-20 candles on your timeframe), and zones that align with the overall trend. Trading a demand zone in a strong downtrend is a low-probability gamble.
Mistake 2: Ignoring the Spread. On EUR/USD with a 0.3 pip spread, it's fine. On GBP/ZAR with a 12-pip spread? You need a much wider zone and a much larger target. I kept placing my stop too tight, getting stopped out by the spread volatility, and then watching the trade go my way. It was infuriating. Factor the spread into your zone width.
Mistake 3: Revenge Trading a Broken Zone. When price blasts straight through your beautiful demand zone, it's a sick feeling. My instinct was to double down or immediately reverse. That's how you lose 5% in an hour. A broken zone becomes the opposite. A broken demand zone becomes a new supply zone. Wait for price to retest that broken level from the other side, then trade the new polarity.
Finally, I tried to combine this with a scalping strategy on low timeframes. It's a mismatch. Supply and demand needs space to work. Stick to the 1-hour chart and above for your analysis, even if your entry is on a 15-minute candle.
“A broken demand zone becomes a new supply zone. Wait for price to retest that broken level from the other side.”
You need a broker that gives you clean charts, reliable execution, and accepts ZAR deposits without crazy fees. Regulation is key. I've traded with a few major ones here.
Exness is popular for its low spreads on majors and local support, which is great for testing strategies on EUR/USD. IC Markets is my go-to for raw spreads and true ECN execution, which is vital when you're placing limit orders in precise zones. You don't want slippage messing with your plan. XM and Pepperstone also have strong local presence and FSCA regulation.
For charting, MT4 or MT5 is standard. The drawing tools are sufficient. The real secret is organization. Create a template: one color for demand zones (I use green), one for supply (red). Keep your charts clean. The more clutter, the worse your decisions.
The advanced tool that changed the game for me is Volume Profile. It shows you where most trading activity happened historically, which often aligns perfectly with your supply and demand zones. It's like getting a second opinion that says, "Yep, the big fight happened right here." It confirms whether your zone is a quiet area or a true high-volume node.
FAQ
Q1Is supply and demand trading better than support and resistance?
It's more specific. Support and resistance are often just horizontal lines. Supply and demand are zones with a cause (the base) and an effect (the sharp move). A supply and demand zone gives you the 'why' - it tells you where an imbalance actually occurred, not just where price bounced.
Q2What's the best timeframe for supply and demand trading in forex?
Start with the 4-hour and daily charts to find your zones. These are where institutional orders are most visible. Use the 1-hour or 30-minute chart for your precise entry. Never use a timeframe below 15 minutes for your primary zone analysis; it's just market noise.
Q3How wide should my supply and demand zone be?
It should encompass the entire price consolidation (the base) that formed before the explosive move. Don't make it arbitrary. If the base on the 4-hour chart was 25 pips tall, your zone is 25 pips tall. Don't shrink it to 10 pips because you want a tighter stop.
Q4Can I use this strategy with automated trading or robots?
It's very difficult. Identifying true zones requires discretionary judgment of price action and context. While you could program a bot to trade at horizontal levels, it won't understand if a zone is fresh, aligned with the trend, or has already been tested too many times. This is a manual strategy.
Q5How do I handle a false break of a supply or demand zone?
A false break (or 'stop hunt') is common. Price will spike beyond the zone, trigger everyone's stops, and then reverse hard. If you get stopped out and see this happen, don't re-enter immediately in anger. Wait for a strong rejection candle to form back inside the zone, then consider a new entry with a stop beyond the false break's extreme.
Q6As a South African, are there any tax implications for forex trading profits?
Yes. Profits from trading are generally considered capital gains or income by SARS, depending on your trading frequency and intent. It's crucial to keep detailed records of all trades, deposits, and withdrawals. The new 2025 rules also mean if you're moving funds offshore, your bank will require proof of tax compliance (a TCS-AIT PIN) before processing the transfer.
Q7Why does the USD/ZAR sometimes ignore technical zones completely?
Because of that 80% offshore trading. Sudden shifts in global risk sentiment or large commodity flows (SA is a major exporter) can overwhelm technical setups. That's why you must use strict stop losses. No strategy works 100% of the time, especially with an emerging market currency like the Rand.
Урок проф. Уинстона
Ключевые выводы:
- ✓Trade zones, not lines. Focus on the imbalance area.
- ✓Always use a top-down analysis: Daily first, then 4H/1H.
- ✓On ZAR pairs, only use limit orders inside your zone.
- ✓Place your stop loss just beyond the opposite side of the zone.
- ✓The first test of a fresh zone offers the best risk/reward.
Насколько полезна эта статья?
Нажмите на звезду
Еженедельные торговые инсайты
Бесплатный еженедельный анализ и стратегии. Без спама.
Об авторе
David van der Merwe
Трейдер развивающихся рынков
Трейдер из Йоханнесбурга с 11-летним опытом работы с валютами развивающихся рынков. Специализируется на ZAR-парах, торговле под регулированием FSCA и анализе южноафриканского рынка.
Комментарии
Предупреждение о рисках
Торговля финансовыми инструментами сопряжена со значительным риском и может не подходить всем инвесторам. Прошлые результаты не гарантируют будущих доходов. Данный контент носит исключительно образовательный характер и не является инвестиционной рекомендацией. Всегда проводите собственное исследование перед торговлей.
Вам также может понравиться

Cara Trading Forex Sukses: 7 Prinsip dari Trader Profesional
Cara trading forex sukses dengan 7 prinsip trader pro: manajemen modal, disiplin, journal trading, backtest. Data nyata, bukan janji profit palsu.
Jam Trading Forex Terbaik untuk Trader Indonesia: Panduan Lengkap dengan Tabel Waktu
Panduan jam trading forex untuk trader Indonesia. Tabel 4 sesi dunia, jam emas 20:00-00:00, sesi mana yang harus dihindari. Data akurat + tips dari trader berpengalaman.
Top 5 Sàn Forex Uy Tín Nhất 2026: Review Jujur dari Trader Indonesia
Top 5 sàn forex uy tín 2026 untuk trader Indonesia. Review jujur: spread, deposit, withdraw, dukungan lokal. Exness, XM, IC Markets & lebih.
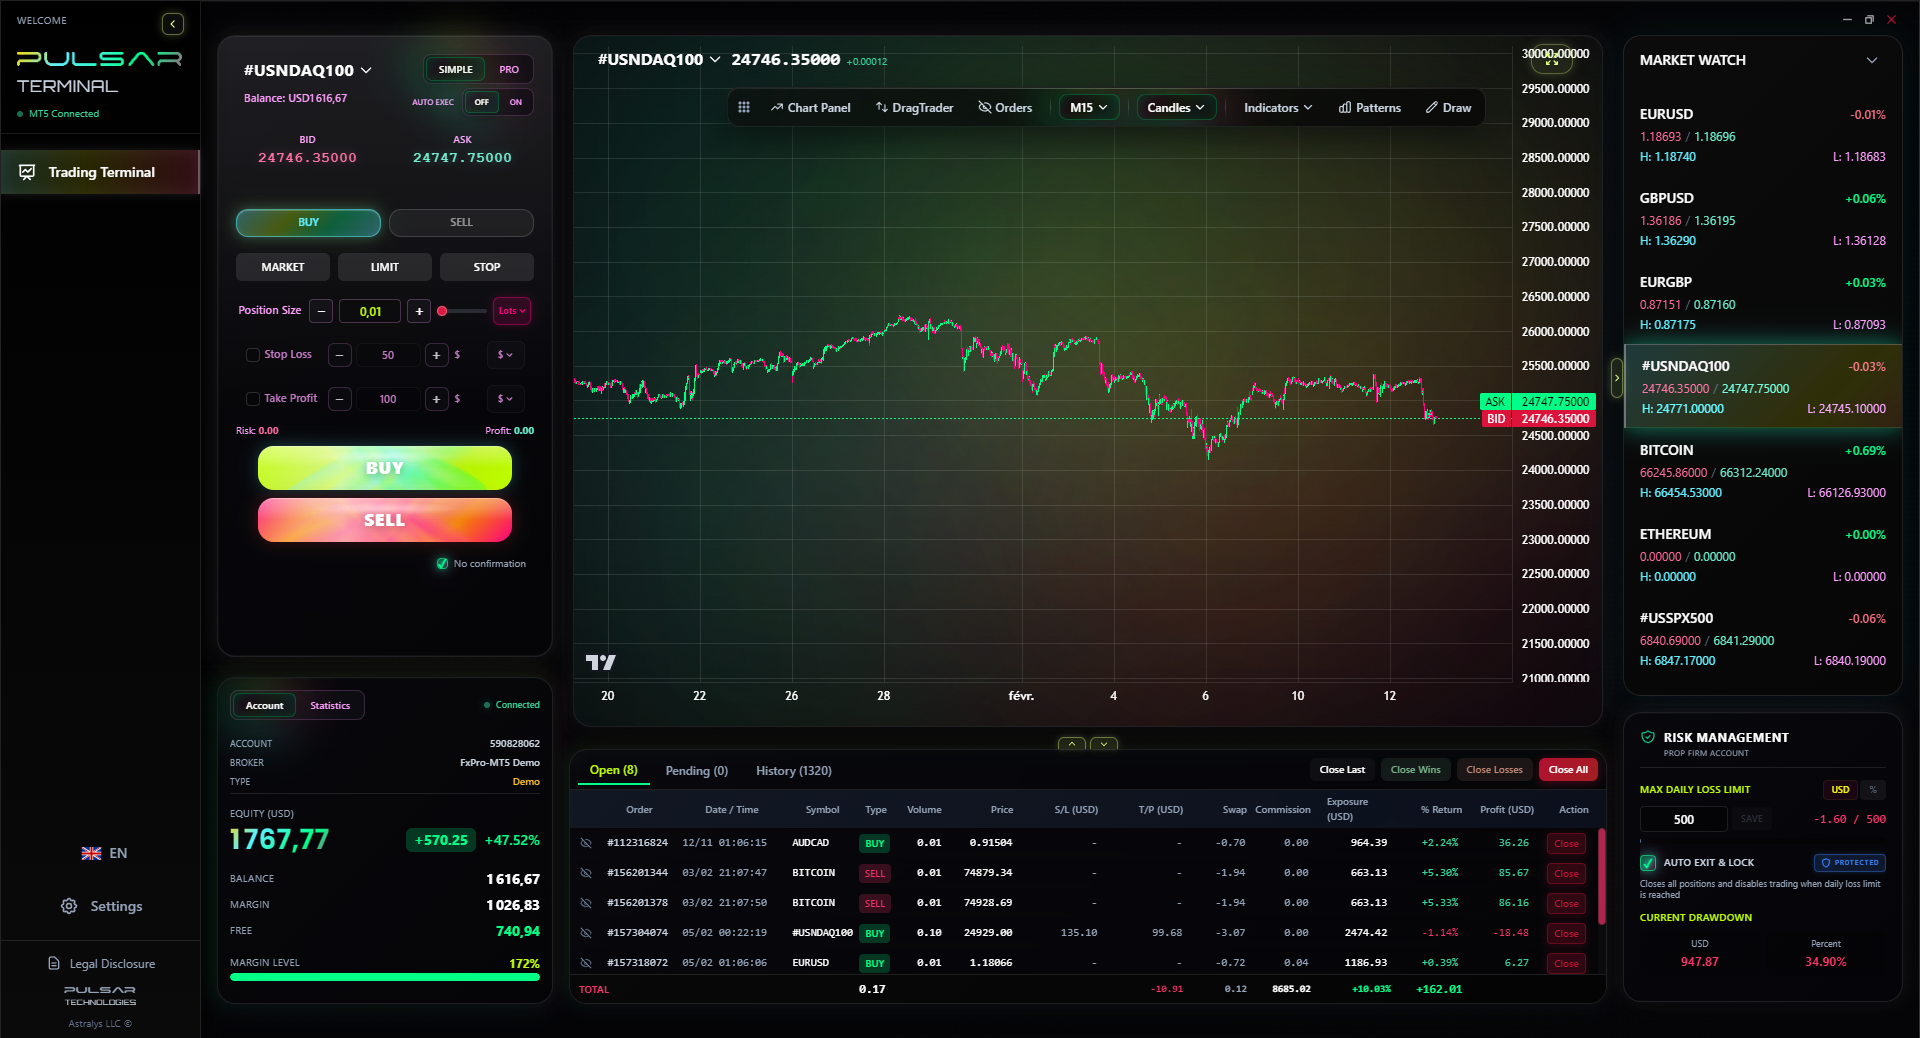
Скачать Pulsar Terminal
Все эти калькуляторы встроены в Pulsar Terminal с данными в реальном времени с вашего счёта MT5.
Скачать Pulsar Terminal