
Here's a fact that should make you pause: over 90% of retail traders in South Africa lose money within their first year.

David van der Merwe
Emerging Markets Trader ·  South Africa
☕ 10 min read
What you'll learn:
- 1What Is Standard Deviation, Really? (No Math Degree Needed)
- 2Why This Indicator Is Non-Negotiable for ZAR Traders
- 3How to Apply It: The Two Core Trading Signals
- 4The Real Magic: Using It to Set Stops and Targets
- 5The Three Mistakes That Will Blow Up Your Account
- 6Building a Complete System: What to Pair It With
- 7Local Considerations: Data, Psychology, and Capital
Here's a fact that should make you pause: over 90% of retail traders in South Africa lose money within their first year. The FSCA doesn't publish that exact stat, but every broker's internal data tells the same brutal story. Most of those blow-ups aren't from bad trade ideas. They're from a complete misunderstanding of market volatility and how to measure it. That's where the standard deviation forex indicator comes in. It's not a crystal ball, but a statistical ruler. It tells you how far price is likely to swing from its average, which is the single most important piece of information for setting your stop-loss and managing your risk in the wild ZAR pairs.
Forget the textbook definition for a second. In trading, standard deviation is simply a measure of how 'crazy' the market is being. A low reading means price is moving in a tight, predictable range. A high reading means it's all over the place. The indicator plots bands (usually two) above and below a moving average. These bands represent where price 'should' be, statistically speaking, based on recent volatility.
Think of it like this: if the average daily move for USD/ZAR over the last 20 days is 150 pips, the standard deviation bands will be set a certain distance from that average line. If price starts pushing against the outer band, it's telling you the move is becoming statistically extreme. It doesn't mean it will reverse immediately, but it does mean the engine is running hot.
Example: Let's say the 20-period moving average on USD/ZAR is R18.50. The upper standard deviation band might be at R18.65, and the lower band at R18.35. That 30-pip channel (15 pips up, 15 down) defines the 'normal' volatile range. A break above R18.65 isn't just a breakout; it's a move into statistically rare territory.
The most common version is the Bollinger Bands® indicator, created by John Bollinger. It uses a 20-period simple moving average with two standard deviation bands. You'll find it on every platform, from MetaTrader to TradingView. It's the workhorse for this concept.
“The standard deviation indicator isn't a crystal ball, but a statistical ruler for market madness.”
If you're trading EUR/USD, volatility is one thing. If you're trading USD/ZAR or EUR/ZAR, volatility is a different beast entirely. The Rand is famously volatile, influenced by local politics, load-shedding headlines, commodity prices, and global risk sentiment. A standard deviation indicator isn't a luxury here; it's a survival tool.
The ZAR Volatility Problem
Our market has wild swings. A USD/ZAR spread can be 5 pips or more, and the daily range can easily hit 300-500 pips during event risk. Without a objective measure of this noise, you'll set your stop-losses too tight and get taken out by normal market jitters. I learned this the hard way in 2018. I shorted USD/ZAR at R13.80 with a 50-pip stop, thinking I was being 'disciplined.' The standard deviation bands on the 1-hour chart were 120 pips wide. My stop was placed well inside the normal volatile range. A routine wiggle took me out, and the pair then fell 400 pips in my original direction. I was right on the trend, but wrong on the volatility.
Setting Realistic Expectations
This indicator grounds you. When you see those bands widen dramatically during a SARB announcement or budget speech, it visually confirms: 'The rules have changed. My usual 50-pip profit target is now just noise.' It forces you to adjust your position size using a position size calculator based on the new, larger expected range. For a deep dive on trading our local currency, see our XAU/USD guide which covers gold/ZAR correlations, a major driver for the Rand.

💡 Winston's Tip
Volatility isn't risk. Mis-measuring volatility is the risk. The standard deviation indicator gives you the ruler. Use it before every trade.
“In the ZAR market, a standard deviation indicator isn't a luxury; it's a survival tool.”
You don't need to calculate it manually. Your platform does it. The key is knowing what to look for. There are two primary signals I use every day.
1. The Squeeze (Low Volatility)
This is when the bands tighten significantly around the price. It looks like a narrow corridor. In statistical terms, standard deviation is low. This is a period of consolidation and indecision. The critical lesson? A squeeze is not a trading signal by itself. It's a warning that a big move is being built up, like coiling a spring. The trade is the breakout from the squeeze.
My rule: I don't try to predict the direction. I wait for a candle to close decisively outside one of the tightened bands, and then I look for a retest of that band as support or resistance for an entry. The first move out of a tight squeeze is often powerful.
2. Band Tag (High Volatility)
This is when price rallies or falls to tag, or even overshoot, the outer band. This signals an extended, high-volatility move. Here's the trap: new traders see price hitting the upper band and immediately short, thinking 'it's overbought.' That's a great way to get run over by a trend.
Warning: A tag of the band is not a reversal signal. In a strong trend, price can ride the upper or lower band for days. The band tag is useful for one thing: telling you not to add to your position. It's an extreme. If you're long and price is pegging the upper band, take some profit or move your stop to breakeven. Don't initiate a new counter-trend trade there.
The real power comes from combining this with a momentum oscillator like the RSI indicator or MACD indicator. If price tags the upper band and the RSI shows a clear bearish divergence, then you have a potential reversal setup.
“In the ZAR market, a standard deviation indicator isn't a luxury; it's a survival tool.”
This is where the standard deviation forex indicator pays your rent. It gives you a data-driven method for placing your stop-loss, which is 90% of risk management.
Stop-Loss Placement: Never place a stop-loss inside the bands. If the 20-period bands are 100 pips wide, your stop should be at least on the other side of the moving average, if not beyond the opposite band. For a long trade, my initial stop often goes just below the lower band. This ensures I'm only stopped out if the normal volatile structure of the move breaks down, not if price takes a routine dip.
Profit Target Scaling: The bands also help with taking partial profits. I might set my first target near the opposite band if I'm swing trading. If price blows right through it, I'll trail my stop using the band as a dynamic guide. For a scalping strategy on a lower timeframe, the distance between the moving average and a band can define a realistic scalp target.
Let me give you a real example from last month. I went long on EUR/ZAR at R20.10. The hourly chart's lower standard deviation band was at R20.00, and the upper band at R20.40 - a 40-pip range. I placed my stop at R19.95, just under the lower band. My first profit target was R20.40 (the upper band). Price hit it, I closed half, and let the rest run with a trailing stop. It eventually ran another 150 pips. The band gave me a logical exit for part of the position without guessing.
💡 Winston's Tip
A squeeze doesn't tell you where to trade. It tells you when to get ready. The patience to wait for the close outside the band separates professionals from gamblers.
“A tag of the band is not a reversal signal. It's a warning not to add to your position.”
I've made all of these. So will you if you're not careful.
- Trading the Squeeze Before the Break: This is the cardinal sin. You see the bands get super tight and you think, 'I'm smart, I'll get in before the crowd.' So you buy or sell in the middle of the congestion. The market then sits there, chopping around, eating away at your capital with spreads and frustration, before finally breaking out and leaving you behind. Patience is the only cure.
- Using Default Settings Blindly: The default is 20 periods and 2 standard deviations. That's a good start, but it might not suit the ZAR's personality or your timeframe. On a 15-minute chart of USD/ZAR, a 20-period setting might be too noisy. Try 50 periods. For a daily chart, 20 is fine. The 2 standard deviations capture about 95% of price action. If you want wider, more significant bands, try 2.5. Test it. Don't just accept the defaults.
- Ignoring the Trend Context: A band tag in a strong uptrend means something completely different than a band tag in a ranging market. If the overall trend is powerfully up, and price pulls back to the moving average (not the lower band), that's often a higher-probability buy signal than a tag of the lower band in a downtrend. Always zoom out. The indicator on your 1-hour chart is meaningless if it contradicts the daily chart structure.
Pro Tip: Combine standard deviation with volume. A breakout from a squeeze with surging volume is far more trustworthy than a breakout on thin volume. It confirms institutional participation, not just a random spike. Most South African brokers like Exness or IC Markets offer good volume data on their platforms.
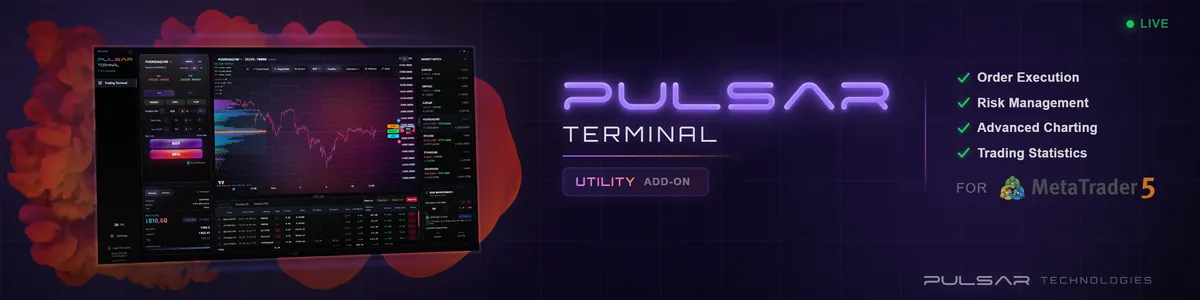
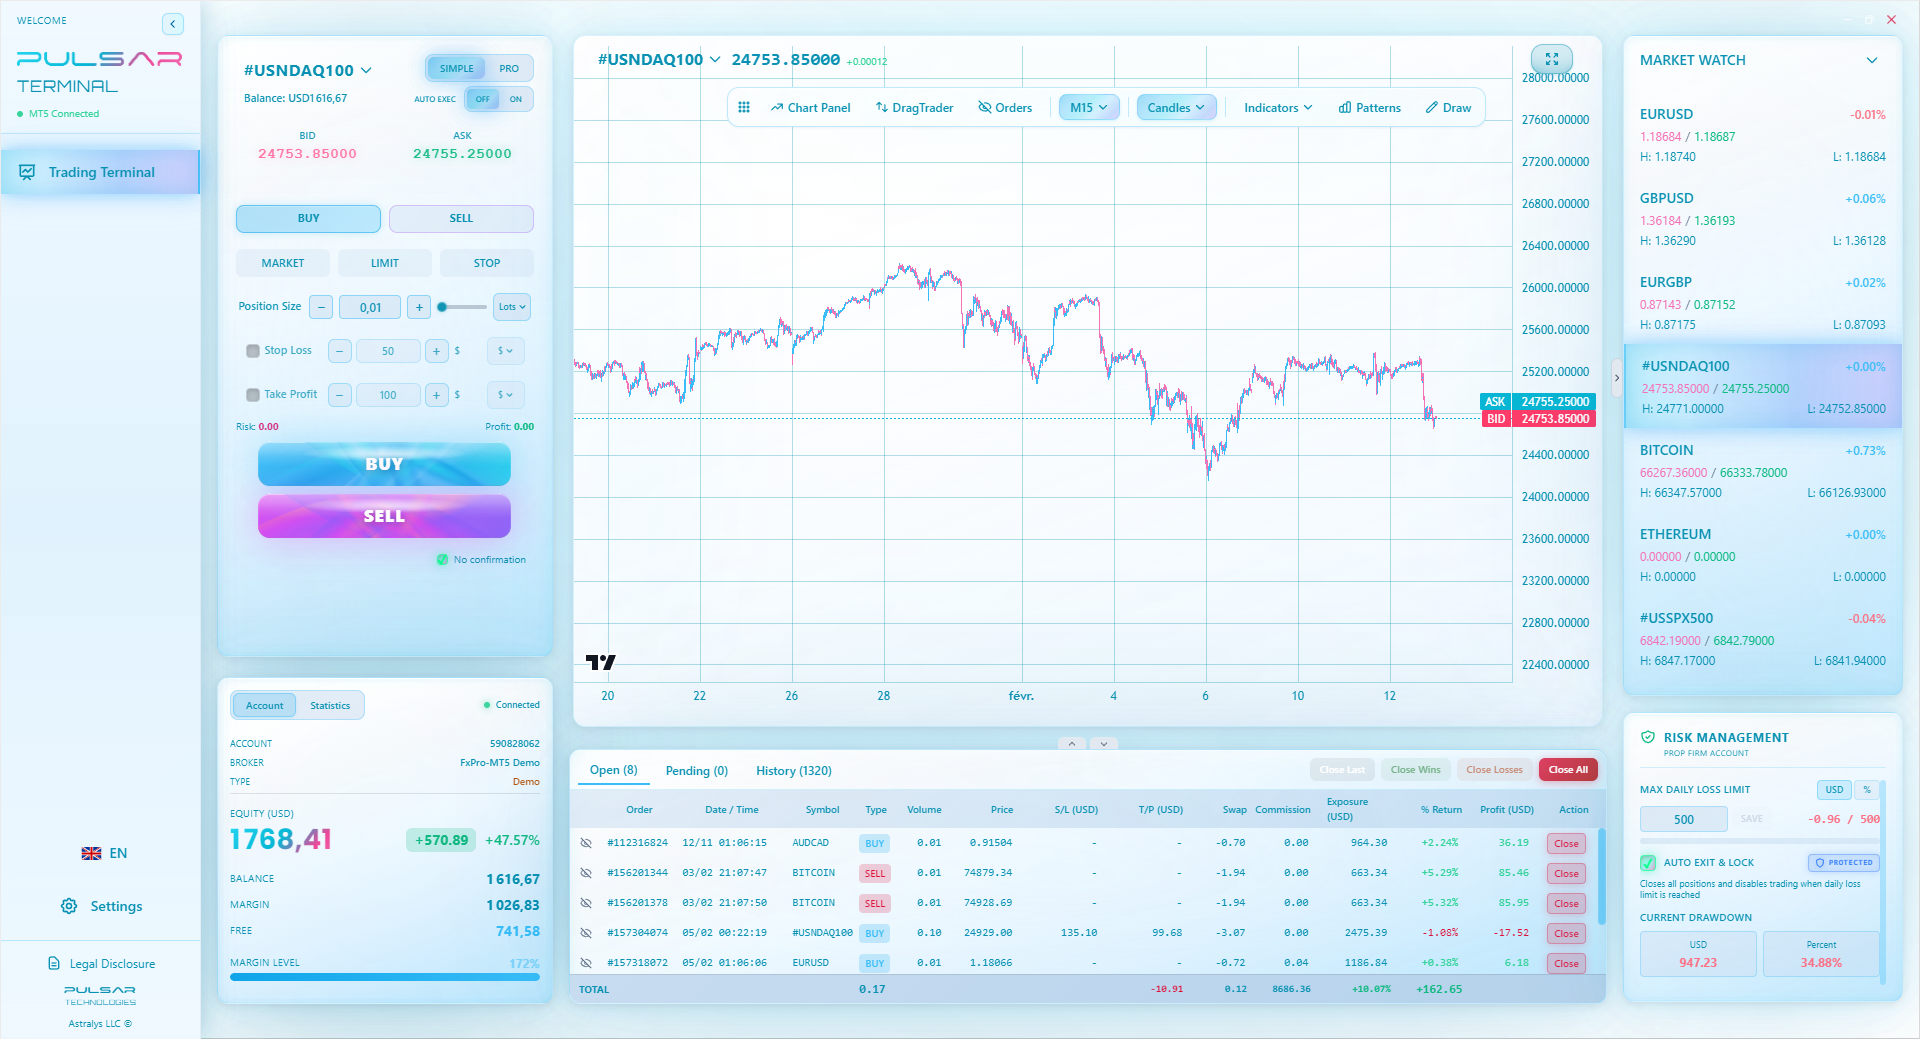
Manually trailing your stop to follow a standard deviation band is tedious; Pulsar Terminal automates dynamic trailing stops and breakeven moves directly on your MT5 charts.
Pulsar Terminal
The all-in-one MT5 companion: drag-and-drop orders, multi-TP/SL, trailing stop, grid trading, Volume Profile, and prop firm protection. Used by 1,000+ traders daily.
“A tag of the band is not a reversal signal. It's a warning not to add to your position.”
No indicator works in a vacuum. The standard deviation indicator is your volatility gauge. You need direction and timing tools to go with it.
For Direction: Use a simple trend filter. A 200-period Exponential Moving Average (EMA) on the daily chart. If price is above it, only look for long setups using the standard deviation bands on lower timeframes. This keeps you on the right side of the macro move. For ZAR pairs, also keep one eye on the EUR/USD guide, as global USD strength/weakness flows directly into USD/ZAR.
For Timing/Confirmation:
- RSI Divergence: As mentioned, this is the classic combo for spotting potential reversals at band extremes.
- Candlestick Patterns: A bearish engulfing pattern or pin bar at the upper band carries much more weight than the same pattern in the middle of the range.
- Support/Resistance Levels: If an outer band aligns with a major historical support or resistance level, that confluence becomes a very powerful area.
Choosing a Broker Matters: The accuracy of your charts and the tightness of your spread definition affect everything. A wide, variable spread on USD/ZAR can make it look like price is constantly touching bands when it's just broker noise. I've found brokers with consistent pricing like Pepperstone or XM are better for this kind of precise technical work, especially when a single pip definition in the ZAR pairs is worth more in Rand terms.
💡 Winston's Tip
If your planned stop-loss is inside the current standard deviation bands, cancel the trade. You're not managing risk; you're hoping.
“Starting with R500 to trade ZAR pairs is a recipe for a margin call, not a career.”
Trading in South Africa isn't just about the charts. Our reality affects how we use tools like this.
Starting Capital is Critical: With our average spreads on ZAR pairs, you need enough buffer. Starting with R500 is a recipe for a margin call. The volatility measured by the standard deviation indicator dictates your position size. If the bands show a 200-pip daily range, risking 2% of a R500 account (R10) means your stop can only be 5 pips on a micro lot. That's impossible. You need at least R5,000 to R10,000 to trade ZAR pairs with sane risk management that respects the volatility the indicator shows you.
Event Risk is Everything: SARB meetings, budget speeches, CPI data - these events cause volatility explosions. The standard deviation bands will widen violently afterwards. The smart move? Often, it's to stay out until the new, wider volatility range is established. Don't try to trade the news spike using pre-event band settings; you'll be using the wrong ruler.
The Psychology of Volatility: Seeing those bands widen on your screen during a Rand crash can induce panic. You might close a good position prematurely. Remember, the indicator is just reporting the facts. If your stop is placed correctly beyond the bands based on the previous volatility, you have already accounted for a normal expansion. Trust your plan. The indicator did its job by helping you set that plan.
FAQ
Q1What are the best settings for the standard deviation indicator in forex?
There's no universal 'best.' The default (20 periods, 2 standard deviations) is a solid starting point. For more sensitive signals on shorter timeframes (like 5-min or 15-min charts), try 10 periods. For smoother, more significant bands on daily charts, try 50 periods and 2.5 deviations. For volatile ZAR pairs, I often use a 50-period setting on anything under the 1-hour chart to filter out noise.
Q2Can standard deviation predict market direction?
No, and that's a crucial point. It measures volatility, not direction. It tells you how far price might move, not whether it will go up or down. Direction must come from other tools like trend analysis, price action, or fundamental drivers.
Q3How is standard deviation different from Bollinger Bands?
Bollinger Bands are a standard deviation indicator. They are the specific application of the standard deviation formula to a moving average, creating the upper and lower bands. When people say 'standard deviation indicator,' they're often referring to Bollinger Bands or a very similar banded tool.
Q4Is a high standard deviation good for trading?
It depends on your strategy. High volatility (wide bands) is good for trend followers and swing traders, as it allows for larger moves and profits. It's bad for scalpers and mean-reversion traders, as the noise and whipsaws increase. It also means you must use a wider stop-loss, which requires a smaller position size to maintain the same risk percentage.
Q5How do I use standard deviation to avoid false breakouts?
Use the 'squeeze' as a filter. A breakout from a period of very low volatility (tight bands) is more likely to be genuine. Also, wait for a candle to close outside the band, not just wick beyond it. Finally, check volume on the breakout bar for confirmation.
Q6Should South African traders use this on USD/ZAR or EUR/ZAR?
Absolutely, but with adjusted expectations. The inherent volatility of the Rand means the bands will be much wider than on EUR/USD. This directly impacts your position sizing. It's more critical than ever to use a position size calculator and set stops based on the band width, not an arbitrary number of pips.
Q7Can I use this indicator for automated trading?
Yes, many algorithmic trading systems (EAs) use standard deviation to dynamically adjust stop-loss and take-profit levels based on current market volatility. It's a core component of many adaptive trading systems.
Prof. Winston's Lesson
Key Takeaways:
- ✓Standard deviation measures volatility, not direction.
- ✓Never place a stop-loss inside the current volatility bands.
- ✓A volatility squeeze precedes a breakout; don't trade the middle.
- ✓Adjust ZAR pair position size for wider bands (200+ pip ranges).
- ✓Combine with RSI divergence for high-probability reversal setups.
How useful was this article?
Click a star to rate
Weekly Trading Insights
Free weekly analysis & strategies. No spam.
About the Author
David van der Merwe
Emerging Markets Trader
Johannesburg-based trader with 11 years in emerging market currencies. Specializes in ZAR pairs, FSCA-regulated trading, and South African market analysis.
Comments
Risk Disclaimer
Trading financial instruments carries significant risk and may not be suitable for all investors. Past performance does not guarantee future results. This content is for educational purposes only and should not be considered investment advice. Always conduct your own research before trading.
You Might Also Like

Cara Trading Forex Sukses: 7 Prinsip dari Trader Profesional
Cara trading forex sukses dengan 7 prinsip trader pro: manajemen modal, disiplin, journal trading, backtest. Data nyata, bukan janji profit palsu.
Jam Trading Forex Terbaik untuk Trader Indonesia: Panduan Lengkap dengan Tabel Waktu
Panduan jam trading forex untuk trader Indonesia. Tabel 4 sesi dunia, jam emas 20:00-00:00, sesi mana yang harus dihindari. Data akurat + tips dari trader berpengalaman.
Top 5 Sàn Forex Uy Tín Nhất 2026: Review Jujur dari Trader Indonesia
Top 5 sàn forex uy tín 2026 untuk trader Indonesia. Review jujur: spread, deposit, withdraw, dukungan lokal. Exness, XM, IC Markets & lebih.
Get Pulsar Terminal
All these calculators are built into Pulsar Terminal with real-time data from your MT5 account. One-click position sizing, automatic risk management, and instant calculations.
Get Pulsar Terminal