
I was staring at the USD/ZAR chart in late 2023, watching it chop around R18.50.

David van der Merwe
新兴市场交易员 ·  South Africa
☕ 11 分钟阅读
您将学到:
I was staring at the USD/ZAR chart in late 2023, watching it chop around R18.50. My screen was a mess of tiny up-and-down moves that meant nothing. I was about to call it a day when I added the zigzag indicator. Suddenly, the clutter vanished. Three clear swing points emerged, showing the real structure beneath the noise. That moment changed how I see charts. The zigzag isn't a crystal ball, but it's the closest thing we have to X-ray vision for spotting what actually matters in our volatile market.
Let's cut through the jargon. The forex zigzag indicator is a simple drawing tool that connects significant swing highs and lows on your chart. Its only job is to filter out the unimportant price moves - the 'noise' - so you can see the underlying trend structure. Think of it like this: you're trying to see the shape of a mountain range, but there's a thick fog of tiny hills in front of it. The zigzag blows away that fog.
It doesn't predict the future. It doesn't generate buy/sell signals on its own. What it does is objectively show you where the market has actually reversed by a meaningful amount. This is crucial in the South African context, where pairs like USD/ZAR and EUR/ZAR can be incredibly jumpy. Without a tool to filter that action, you'll get whipsawed out of good trades.
The indicator works by using two main settings: Depth and Deviation. Depth tells it to ignore a certain number of bars (or candles) when looking for a swing. Deviation sets the minimum percentage price move required to draw a new line. If you set Deviation to 5%, the price must move 5% from the last swing point before the zigzag will draw a new line. This is your control over what qualifies as 'significant'.
Warning: The zigzag is a lagging indicator. It only draws lines after a swing point is confirmed. By the time you see a new line, the price has already moved. Don't use it to try and catch the very top or bottom. Use it to understand the structure of the move that just happened.

💡 Winston 小贴士
The zigzag's real power isn't in the lines it draws, but in the noise it removes. A clean chart leads to a clear mind, and clear minds make better decisions.
“The zigzag isn't a crystal ball, but it's the closest thing we have to X-ray vision for spotting what actually matters.”
You'll find the zigzag indicator in the 'Trend' indicators folder on both MT4 and MT5, which are the most common platforms used by local traders with brokers like XM or IC Markets. The default settings are almost never right for our market.
Here’s what I’ve found works after years of trading ZAR pairs and majors:
For Major Pairs (EUR/USD, GBP/USD) on 1-Hour or 4-Hour Charts:
- Depth: 12
- Deviation: 5
- Backstep: 3
For USD/ZAR and other EM Pairs on 4-Hour or Daily Charts:
- Depth: 20
- Deviation: 7
- Backstep: 5
Why the difference? Emerging market pairs like the Rand are inherently more volatile. A 5% move on EUR/USD is a massive deal; on USD/ZAR, it can happen in a few sessions. The higher Deviation setting (7%) ensures the zigzag only draws lines for the truly substantial swings, ignoring the frequent, sharp retracements that are common with the ZAR.
A Real Trade Example
In early 2024, I was watching GBP/ZAR on the daily chart. The zigzag (Depth 20, Dev 7) had drawn a clear series of higher lows and higher highs. The last recorded swing low was at R23.15. Price pulled back to R23.80 but didn't make a new zigzag low. That told me the overall uptrend structure was still intact. I entered a long position at R23.85, with a stop loss below the R23.15 swing low. The trade ran up to R24.90. The zigzag didn't give me the entry signal, but it clearly defined the trend and, crucially, showed me where my stop loss should be - not based on a random number, but based on market structure.
Pro Tip: Don't just copy these settings. Open a chart on USD/ZAR. Put the zigzag on with my suggested settings. Then, change the Deviation to 3. See how many more, meaningless lines appear? That's the noise you want to avoid. Tweak until the lines only connect the most obvious peaks and troughs you can see with your own eyes.
“I've blown up accounts with this indicator. Not because it's bad, but because I used it badly.”
This is where theory meets the reality of your P&L. I don't use the zigzag in isolation. It's a foundational tool that makes my other strategies work better.
1. Identifying Swing Points for Support & Resistance: This is its primary function. Those zigzag points become your dynamic support and resistance levels. When price approaches a previous zigzag high, that's a potential resistance zone. A previous zigzag low is support. It's more objective than drawing lines by hand. I once lost a chunk of money on EUR/USD by placing a sell order at what I 'felt' was resistance. Now, I wait for price to test a confirmed zigzag swing high, then look for confirmation from something like the RSI indicator showing overbought conditions.
2. Spotting Chart Patterns: Can you spot a head and shoulders or a double top when the chart is noisy? I couldn't, consistently. The zigzag cleans it up. It connects the relevant peaks and troughs, making classic patterns visually pop. This is especially useful for swing trading setups on the daily chart.
3. Trend Confirmation: Are we making higher highs and higher lows (uptrend) or lower highs and lower lows (downtrend)? The zigzag line visually answers that question. If the zigzag line is pointing up and making new highs, the trend is up. It's that simple. I use this to avoid taking trades against the major trend. No more trying to guess if a pullback is a reversal or just a dip.
4. Fibonacci Retracement Anchor Points: This is a powerful combo. Instead of guessing where to start and end your Fib retracement tool, use the zigzag swing points. Draw your Fib from a significant zigzag low to the subsequent zigzag high. The retracement levels (38.2%, 50%, 61.8%) become high-probability areas for the trend to resume. My most consistent trades come from buying near the 61.8% Fib retracement level anchored from zigzag points in a strong uptrend.
“I've blown up accounts with this indicator. Not because it's bad, but because I used it badly.”
I've blown up accounts with this indicator. Not because it's bad, but because I used it badly. Here’s the painful education you can get for free.
Mistake 1: Chasing the Last Line. This was my biggest loss-maker. The zigzag draws a new line pointing up, so I'd buy immediately. The problem? The move is already halfway done. I was constantly buying high and selling low. The zigzag confirms a swing, it doesn't initiate one. Wait for price to come back and retest the area of the new swing, then look for an entry.
Mistake 2: Using Too Low Deviation on ZAR Pairs. I used a Deviation of 3 on USD/ZAR. The chart became a spiderweb of lines. Every tiny 100-pip move got a line. I was reacting to every little wiggle, getting stopped out constantly, and paying a fortune in spreads and commissions. It was a surefire way to get a margin call. The higher volatility of our local currency demands higher filter settings.
Mistake 3: Ignoring the Lag. The zigzag is not for scalping. On a 1-minute chart, by the time it draws a line, the move is ancient history. I tried. It failed. Use it on higher timeframes (1-hour and above) where the 'lag' is irrelevant compared to the size of the swing.
Mistake 4: Using It as a Solo System. The zigzag doesn't tell you when to trade. It tells you where the structure is. I learned to combine it with momentum indicators and price action. For example, a zigzag support level + a bullish engulfing candle + RSI coming out of oversold territory? That's a recipe I have more confidence in.
💡 Winston 小贴士
If you find yourself constantly adjusting the Depth and Deviation settings, you're probably over-optimizing. Find a setting that works for the market's character (e.g., higher Deviation for volatile ZAR pairs) and stick with it for at least 100 trades.
“The Rand's high volatility demands higher filter settings - otherwise, your chart becomes a spiderweb of meaningless lines.”
Your trading platform and broker conditions directly impact how effective any strategy, including zigzag-based analysis, can be. Here’s the local angle.
All the major brokers serving South Africa - like Exness, Pepperstone, and IC Markets - offer MT4/MT5, so you have access to the zigzag. But you need to be aware of two critical factors:
1. Spreads & Slippage: When you're trading based on precise swing points, wide spreads can kill your edge. If your zigzag low is at R18.5000 and you want to buy a bounce, but your broker's spread on USD/ZAR is 50 pips (R0.0500), you're already buying at R18.5050. That's a big handicap. This is why I prefer ECN/RAW accounts from brokers like FP Markets or Tickmill for ZAR pairs, where spreads on USD/ZAR can be as low as 15-20 pips during good liquidity. Every pip saved on the spread makes your zigzag-defined levels more accurate.
2. The 30:1 use Limit: Remember, the FSCA caps use at 30:1 for retail traders. This is a good thing, but it affects position sizing. A zigzag on a daily chart might define a stop loss 2000 pips away on USD/ZAR. With 30:1 use, a standard lot ($100,000) would require over $3,300 in margin just for that one trade, with a potential loss of $2,000 if your stop is hit. That's huge for most accounts. You must use a position size calculator religiously. The zigzag helps you set a logical, wide stop based on market structure, and the use limit forces you to trade a size that makes that stop survivable.
Example: Your zigzag says place a stop loss 1500 pips away on a USD/ZAR trade. With a R10,000 account and 30:1 use, the maximum you should risk (say 1%) is R100. 1500 pips on USD/ZAR is about R1.50 per standard lot. To risk only R100, your position size must be micro lots. The math keeps you safe.
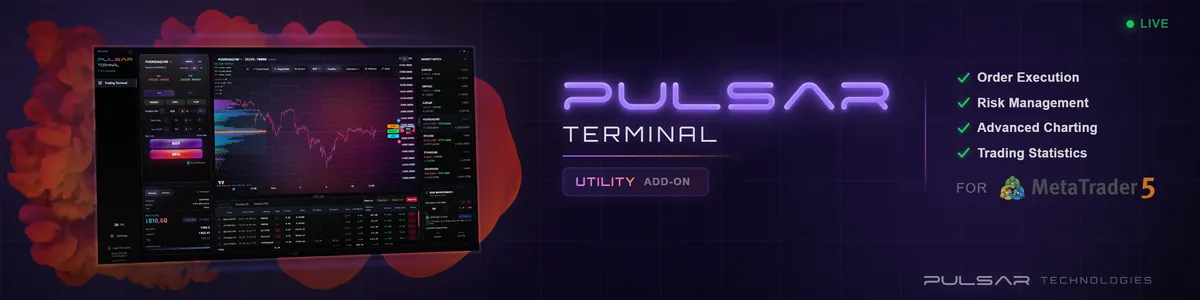
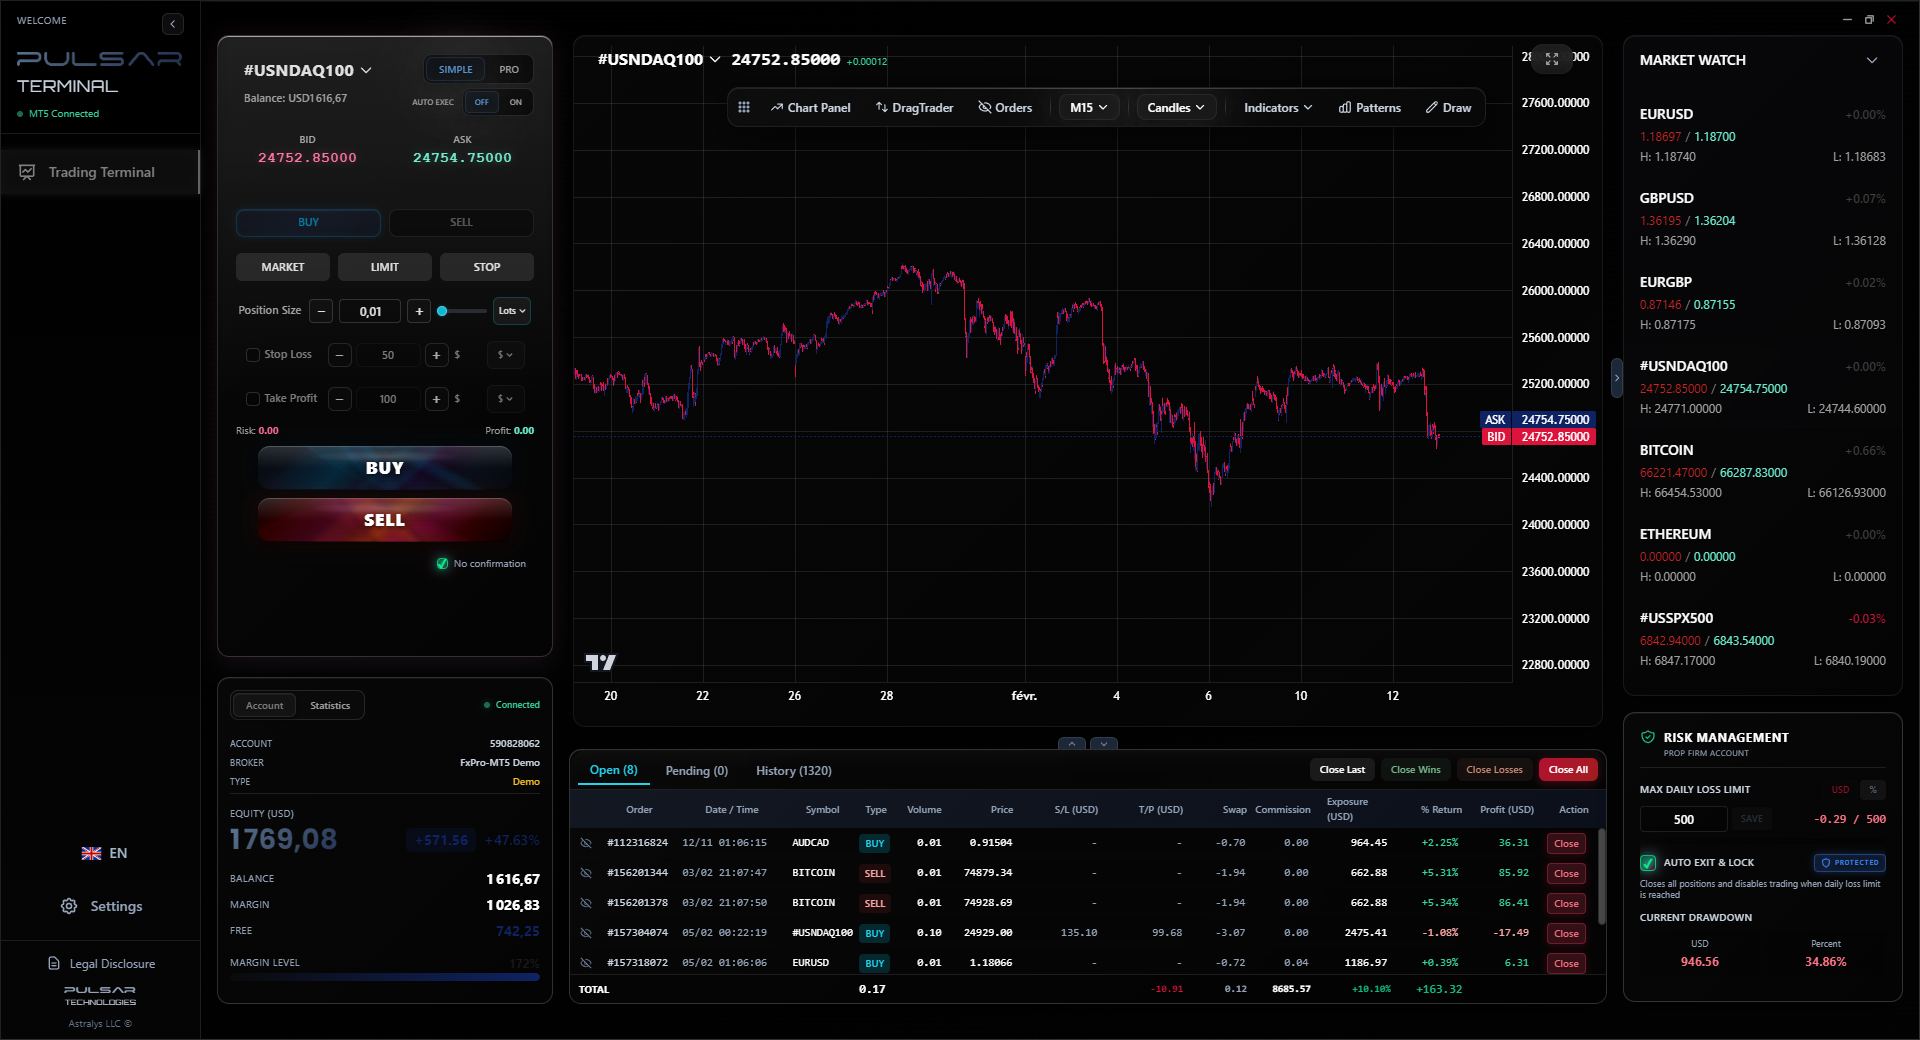
Manually moving stops to recent zigzag swing points is tedious, but Pulsar Terminal can automate this as a trailing stop directly on your MT5 chart.
Pulsar Terminal
MT5一站式工具:拖拽下单、多重止盈/止损、追踪止损、网格交易、成交量分布图和自营交易保护。每日1000+交易者使用。
“The Rand's high volatility demands higher filter settings - otherwise, your chart becomes a spiderweb of meaningless lines.”
Once you're comfortable with the basics, try marrying the zigzag with other concepts. This is where it becomes truly powerful.
Zigzag + Elliott Wave Theory: Elliott Wave analysts use zigzags (in the theoretical sense) to count waves. The indicator can help visually isolate potential wave 1, 3, and 5 impulses and the A, B, C corrections. It brings clarity to a often-confusing analysis method.
Zigzag + MACD Divergence: This is one of my favorite setups. Look for a situation where price makes a new zigzag high, but the MACD histogram makes a lower high (bearish divergence). This often signals weakening momentum and a potential reversal at that zigzag point. It gives you a reason to act at that specific level.
Automating with Expert Advisors (EAs): On MT4/MT5, you can code or buy EAs that use the zigzag's swing points as dynamic reference levels for placing orders, moving stops to breakeven, or trailing stops. This automates the structural analysis. For instance, an EA could automatically move your stop loss to the most recent zigzag swing low once price moves in your favor by a certain amount, locking in profits as the trend develops.
Remember, the goal isn't complexity. It's clarity. Each combination should help you answer a clearer question: Is the trend strong? Is momentum fading at this key level? The forex zigzag indicator provides the clean structural framework to ask those questions properly.
“It doesn't tell you *when* to trade. It tells you *where* the structure is.”
Let's end with some straight talk. The zigzag indicator won't make you rich overnight. No indicator will. I've been using it for over a decade, and it's a permanent fixture on my charts because it solves one problem brilliantly: visual clutter.
It can:
- Show you the clean trend structure.
- Objectively define support and resistance.
- Help you place logical stop losses.
- Improve your pattern recognition.
It cannot:
- Predict the future.
- Tell you exactly when to enter a trade.
- Work in isolation without other confirming factors.
- Be effective on very low timeframes for fast trades.
For us trading from South Africa, with the unique volatility of our currency and the sensible constraints of FSCA regulation, tools that promote clarity and discipline are worth their weight in gold. The zigzag is one of those tools. Start by using it simply - just to see the swings. Don't trade off it yet. Just watch how it behaves on the EUR/USD guide or the XAU/USD guide for a few weeks. Let your eye get trained to see the structure it reveals. Then, slowly, start incorporating that structural awareness into your existing strategy. That's how you build skill, without blowing up your account chasing lines on a screen.
💡 Winston 小贴士
Never let a zigzag-defined stop loss be more than 2% of your capital. The indicator shows you where the structure breaks, but proper position sizing ensures you live to trade another day when it does.
FAQ
Q1What are the best zigzag settings for trading USD/ZAR?
For USD/ZAR on timeframes like 4-hour or daily, start with Depth 20, Deviation 7, and Backstep 5. The Rand's high volatility requires a higher Deviation setting to filter out noise. If you're getting too many lines, increase Deviation to 8 or 9. The goal is to have the zigzag connect only the most obvious major swing points on the chart.
Q2Is the zigzag indicator good for scalping?
Honestly, no. It's a lagging indicator that works best on higher timeframes (1-hour and above). By the time it confirms a swing point on a 1-minute or 5-minute chart, the scalping move is usually over. For scalping, you need real-time price action and order flow tools. The zigzag is better suited for swing or position trading where the structure of larger moves matters more.
Q3Why does the zigzag line keep changing and redrawing?
This is its most important feature and biggest point of confusion. The zigzag redraws because it only confirms a swing point once the minimum Deviation move has occurred and the Depth parameter is satisfied. If a new bar creates a higher high but then the next bar goes even higher, the old line is deleted and a new one is drawn to the new high. It's constantly searching for the most recent confirmed significant swing. Don't fight it; this is how it maintains accuracy.
Q4Can I use the zigzag indicator to automatically place trades?
Not directly from the indicator itself, as it doesn't generate standard trading signals. However, you can use it within custom Expert Advisors (EAs) on MT4/MT5. Programmers can write code that reads the values of the last zigzag swing high/low and uses those levels as references for automated order placement, stop-loss setting, or trailing stop logic. It's a popular tool for algorithmic trading strategies based on market structure.
Q5How does the zigzag differ from drawing trendlines manually?
Manual trendlines are subjective. You and I might draw them between slightly different points. The zigzag is objective and rule-based. It will always draw between the same significant points based on its Depth and Deviation settings. This removes emotional bias from your structural analysis. Use the zigzag to find the key swings, then you can draw a cleaner, more logical trendline along those points.
Q6As a South African trader, do I need to adjust zigzag settings for different brokers?
Not for the indicator itself, but your broker's data feed and spreads can affect what you see. A broker with slower feed might show slightly different swing points. More importantly, wide spreads mean the price you can trade at is different from the chart price. Always be aware that your execution price might be a few pips away from the pristine zigzag level on your screen, especially with ZAR pairs.
Winston 教授的课程
要点总结:
- ✓Use higher Deviation (7%+) for volatile ZAR pairs.
- ✓It's a lagging tool for swing trading, not scalping.
- ✓Combine with momentum indicators for entry signals.
- ✓Always use it with disciplined position sizing.
这篇文章对您有用吗?
点击星星评分
每周交易洞察
免费每周分析与策略。无垃圾邮件。
关于作者
David van der Merwe
新兴市场交易员
约翰内斯堡交易者,11年新兴市场货币经验。专注于ZAR货币对、FSCA监管交易和南非市场分析。
评论
风险提示
金融工具交易存在重大风险,可能不适合所有投资者。过往业绩不代表未来表现。本内容仅供教育目的,不构成投资建议。在交易前请务必自行研究。
您可能还喜欢

Cara Trading Forex Sukses: 7 Prinsip dari Trader Profesional
Cara trading forex sukses dengan 7 prinsip trader pro: manajemen modal, disiplin, journal trading, backtest. Data nyata, bukan janji profit palsu.
Jam Trading Forex Terbaik untuk Trader Indonesia: Panduan Lengkap dengan Tabel Waktu
Panduan jam trading forex untuk trader Indonesia. Tabel 4 sesi dunia, jam emas 20:00-00:00, sesi mana yang harus dihindari. Data akurat + tips dari trader berpengalaman.
Top 5 Sàn Forex Uy Tín Nhất 2026: Review Jujur dari Trader Indonesia
Top 5 sàn forex uy tín 2026 untuk trader Indonesia. Review jujur: spread, deposit, withdraw, dukungan lokal. Exness, XM, IC Markets & lebih.