
Here's a stat that changed my trading: over 70% of my losing trades in my first two years would have been winners if I'd just taken partial profits.

David van der Merwe
新兴市场交易员 ·  South Africa
☕ 10 分钟阅读
您将学到:
Here's a stat that changed my trading: over 70% of my losing trades in my first two years would have been winners if I'd just taken partial profits. I was letting greed turn potential Rands into dust. That's when I learned about TP1 and TP2. It's not just fancy jargon; it's a risk management lifeline. For us trading from SA, with the ZAR's volatility, this approach isn't optional, it's essential. Let me walk you through what these terms really mean and how to use them without overcomplicating things.
Alright, let's strip this back. TP stands for Take Profit. It's the price you tell your broker, "Close my trade here, I'm happy with this profit." TP1 and TP2 are just levels for doing that in stages.
TP1 (Take Profit 1) is your first, more conservative target. You're not trying to catch the whole move. You're taking a solid chunk off the table early. The mindset here is "bank some profit." Once TP1 hits, you've already secured a win on part of your position. This psychologically frees you up to let the rest run.
TP2 (Take Profit 2) is your second, more ambitious target. This is for the remaining portion of your trade. After TP1 is hit, you've reduced your risk significantly, so you can afford to be more patient. TP2 is where you aim for the bigger payoff if the trend really gets going.
Think of it like this: TP1 pays for the trade and a bit more. TP2 is the bonus. I used to set one giant profit target and watch the price reverse 2 pips before hitting it. Now, with two targets, I'm almost always walking away with something.
Pro Tip: Don't think of TP1 as "small profits." Think of it as converting market risk into real, locked-in capital. That R500 in your account from TP1 is yours. The market can't take it back.

💡 Winston 小贴士
Your first profit target isn't about making money. It's about removing risk. Once TP1 hits, your job is to protect capital, not chase glory.
Our market has its own rhythm. Trading USD/ZAR or EUR/ZAR isn't like trading EUR/USD. The spreads are wider, the moves can be sharper, and liquidity can dry up around certain times. A single profit target strategy here can leave you exposed.
The ZAR Volatility Factor
The Rand is famously volatile. Political news, load-shedding schedules, commodity prices – it all feeds in. A trade can rocket in your favor and then reverse on a headline before your lone TP is hit. TP1 acts as a shock absorber. You capture profit during the initial impulsive move. If it reverses, you've already won. If it continues (maybe due to a sustained dollar rally), TP2 lets you participate.
Managing Wider Spreads
On exotic pairs involving ZAR, the spread – the difference between buy and sell price – is a real cost. Brokers like those in our Exness review or IC Markets review might offer tight spreads on majors, but ZAR pairs are different. Setting TP1 too close to your entry is a recipe for failure because the price needs to move enough just to cover the spread. A layered TP approach accounts for this by aiming for a more substantial first target.
I learned this the hard way in 2020. I went long on USD/ZAR at R17.20, aiming for a single TP at R17.80. It shot up to R17.75, then crashed on a surprise SARB announcement. I ended up closing at breakeven after days of stress. If I'd had a TP1 at R17.50 for half my lot, I'd have banked a nice profit. The remaining half could have ridden the volatility. That loss was a cheap lesson in adapting strategy to your local market.
“TP1 pays for the trade and a bit more. TP2 is the bonus.”
This is where the rubber meets the road. It's not random. You need a method, or you're just guessing.
The Risk-Reward Foundation
Everything starts with your risk. If your stop loss (SL) is 30 pips away, your TP1 shouldn't be 10 pips away (unless you're scalping). A common framework is using a 1:1 risk-to-reward for TP1, and a 2:1 or 3:1 for TP2.
Example: You buy EUR/USD at 1.0850 with a SL at 1.0820 (30 pips risk).
- TP1: 1.0880 (30 pips profit, 1:1 R:R). Close 50-70% of your position here.
- TP2: 1.0910 (60 pips profit, 2:1 R:R) or 1.0940 (90 pips, 3:1).
Use a position size calculator to work this out precisely. It keeps you disciplined.
Using Support & Resistance
This is my preferred method. I place TP1 at the nearest clear resistance (for a long trade) or support (for a short trade). TP2 goes at the next major level beyond that.
Let's say GBP/ZAR is bouncing off support at R23.000. You go long. The first overhead resistance is at R23.500. That's a logical TP1. The next major weekly resistance is at R24.000. That's your TP2. The market often pauses or pulls back at these levels, so TP1 lets you exit before the crowd does.
Indicator-Based Targets
Some traders use indicators like the RSI indicator or MACD indicator to gauge momentum and set targets. For instance, you might set TP1 where the RSI is likely to hit overbought territory (e.g., 70) and TP2 at a longer-term trend line. I'm cautious with this. Indicators lag. Combining them with price-based support/resistance is stronger.
Warning: Never set your TP levels based on how much money you want to make. "I need to make R2000 on this trade" is a surefire way to ignore the chart and set unrealistic targets. The market doesn't care about your rent. Always base TPs on the price action itself.
Setting TP1 and TP2 is useless if your position sizing is reckless. This is the most important part of the whole system.
You must decide what percentage of your position you close at TP1. There's no holy grail number, but 50% is a great starting point. It's balanced. By closing half at TP1, you've immediately reduced your overall exposure by 50%. The profit from that half also acts as a buffer for the remaining position.
Here's the magic move: Moving your stop loss after TP1. Once TP1 is hit and you've banked profit on half your trade, you should move your stop loss on the remaining half to your original entry price (breakeven) or even slightly above it into profit.
Why? It makes the second half of the trade virtually risk-free. The worst-case scenario is you get stopped out at breakeven or a small profit on the remainder. The best case is you hit TP2 for a bigger win. This transforms your psychology from hoping to managing.
I track this in my journal. Before I used this method, my average winner was R800, but my average loser was R750. Thin edge. Now, with partial closes and stop moves, my average winner is still around R800, but my losers (often the breakeven stops on the second half) are under R200. That's a sustainable edge.
Example: You trade 1 standard lot (100,000 units) on USD/ZAR. Entry at R18.50, SL at R18.40 (risk = 1000 ZAR per pip * 10 pips = R10,000). You close 0.5 lots at TP1 (R18.60), profiting R10,000. You move the SL on the remaining 0.5 lots to R18.50 (breakeven). Now, you can't lose on the trade overall. If it hits your SL at breakeven, total profit = R10,000. If it hits TP2 at R18.70, profit on second half = R10,000. Total profit = R20,000.
💡 Winston 小贴士
If you find yourself constantly moving TP2 further away, you're not trading the chart anymore. You're trading hope. Hope is not a strategy.
“I turned a guaranteed winner into a loser by not moving my stop after TP1. Never again.”
I've botched this more times than I care to admit. Here's the hall of shame.
1. Setting TP2 Too Far Away (Greed). I'd see a nice 50-pip move to TP1, get excited, and set TP2 another 200 pips away based on a dream, not the chart. The result? The price would eventually reverse, and I'd end up closing the second half at breakeven or a tiny profit after days of watching, missing out on a better exit in between. TP2 must be at a logical technical level.
2. Not Moving the Stop After TP1 (Complacency). This one hurt. Hit TP1, felt like a genius, and left the stop loss way down at the original level. The market reversed, wiped out the TP1 profit, and stopped me out for a full loss. I turned a guaranteed winner into a loser. Never again. The move after TP1 is non-negotiable.
3. Using Arbitrary Percentages for Partial Closes. I once closed 80% at TP1, leaving a tiny 20% runner. When it hit TP2, the profit was negligible. The math was pointless. I'd taken almost all the risk off, so the reward was tiny. Conversely, closing only 20% at TP1 leaves too much risk on the table. Stick to 50-70% for the first close until you have a specific reason to do otherwise.
4. Ignoring the Spread on Exits. Remember, you pay the spread when you exit too. On a ZAR pair with a 15-pip spread, if your TP1 is only 20 pips away, you're really only capturing 5 pips of movement. That's not a trade, it's a donation to your broker. Factor the spread into your target distance. This is why brokers with consistently good execution, like those in our Pepperstone review, are worth their weight in gold for active strategies.
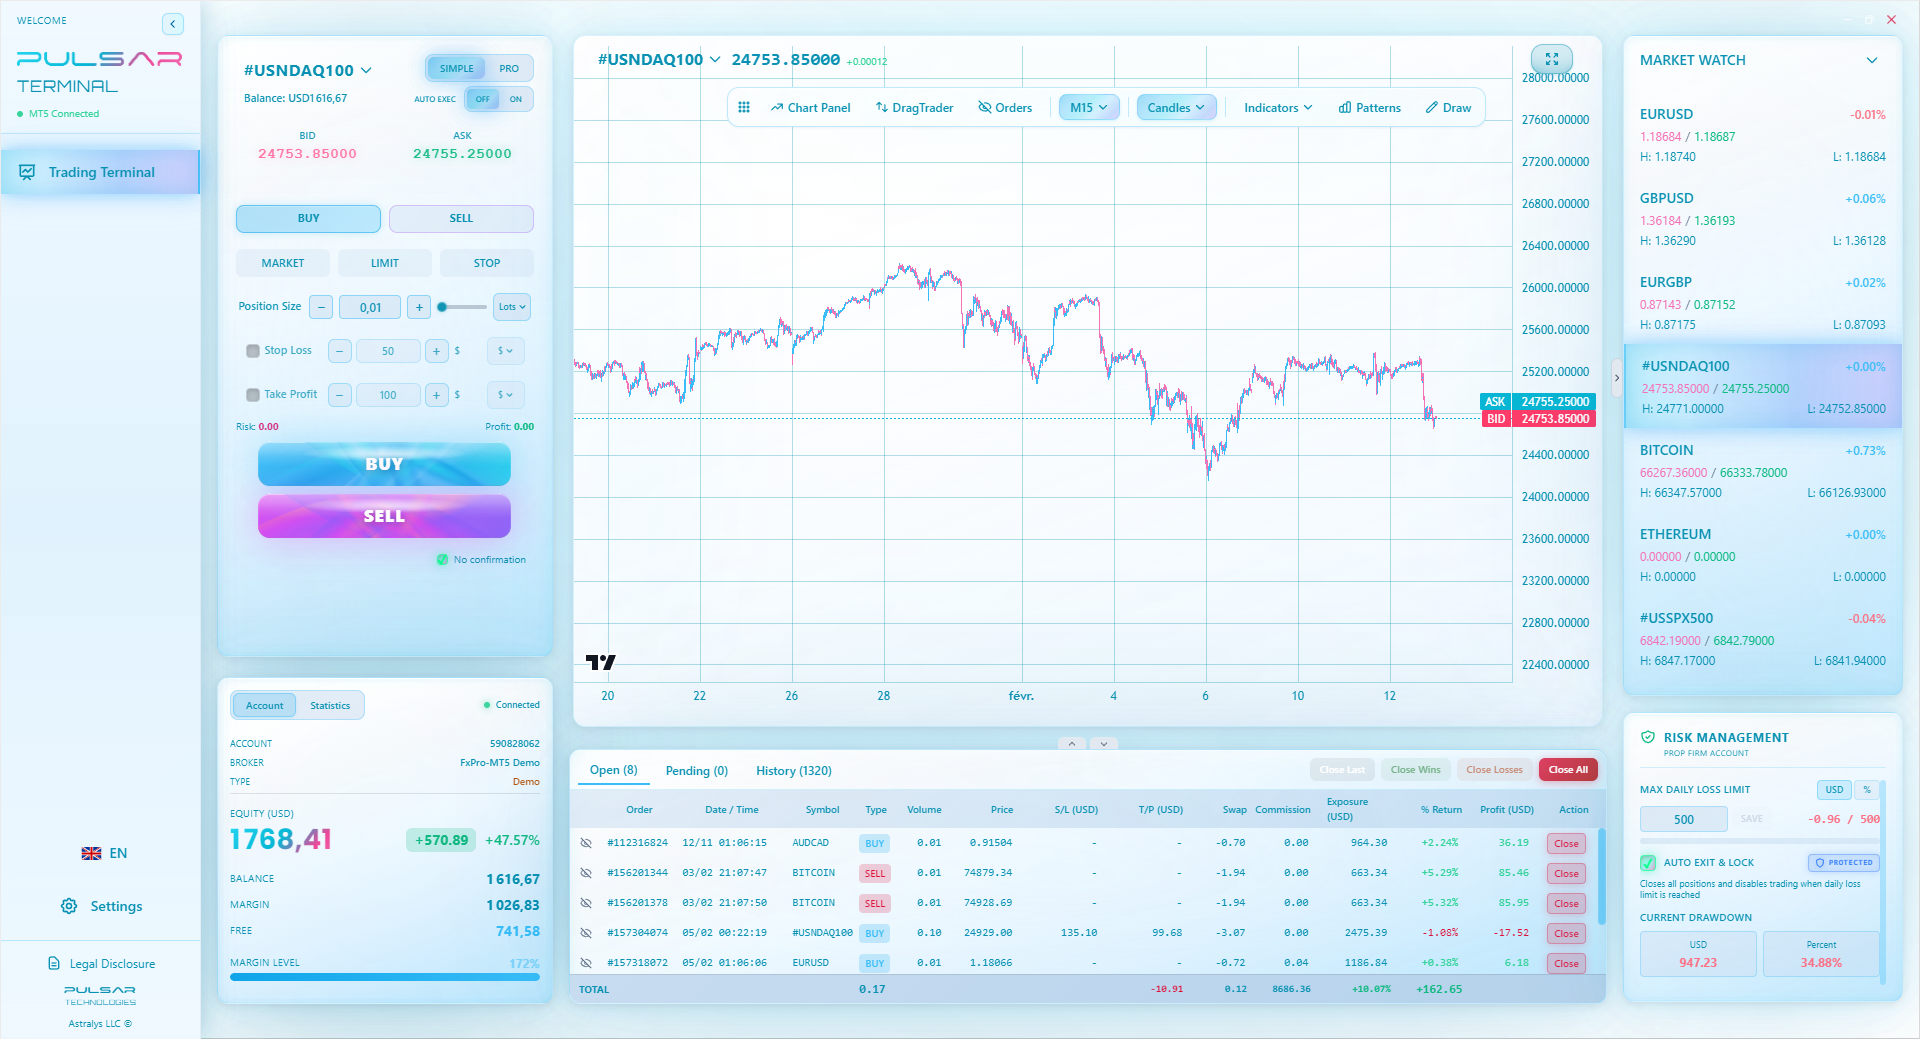
Manually moving stops and managing multiple TPs on different lots is a hassle; Pulsar Terminal automates partial closures and breakeven stops directly on your MT5 chart with a single click.
Pulsar Terminal
MT5一站式工具:拖拽下单、多重止盈/止损、追踪止损、网格交易、成交量分布图和自营交易保护。每日1000+交易者使用。
Your broker's platform dictates how easily you can implement this. Most South Africans use MT4 or MT5, which handle multiple TPs natively.
When you place an order, you can set two separate Take Profit levels. The key is to also set the volume for each. In MT5, when you modify an order, you can specify a closing volume for each TP price. This is how you tell the platform, "Close 0.5 lots at TP1, and close the remaining 0.5 lots at TP2."
FSCA Regulation is Key. Always verify your broker is regulated by the Financial Sector Conduct Authority (FSCA). This ensures client fund segregation and gives you a local recourse if things go wrong. The FSCA has been active, fining unauthorised schemes millions. Don't trust an offshore "bucket shop" with your hard-earned Rands. Many global brokers like XM (see our XM review) hold FSCA licenses, offering you global platforms with local oversight.
Payment Methods. Look for brokers that offer easy ZAR deposits and withdrawals via local bank transfer or instant EFTs. It saves you a fortune in conversion fees compared to depositing in USD or EUR. The convenience of funding your account from your FNB or Standard Bank app in minutes is a game-saver when you see a setup forming.
💡 Winston 小贴士
The spread is your silent partner in every trade. On exotic pairs, it takes a bigger cut. Set your TP1 with its hand already in your pocket.
“The market doesn't care about your rent. Always base your take profits on the price action, not your bills.”
Once TP1 and TP2 feel natural, you can explore more advanced concepts. This isn't for beginners, but it's the logical evolution.
TP3 and Beyond. Some traders, especially in longer-term swing trading, set a third target. The structure often becomes: TP1 (secure profit), TP2 (cover risk + profit), TP3 (let profits run with a trailing stop). The volume closed at each stage might be 50%, 30%, 20%.
The Reverse: Scaling In. This is the counterpart to scaling out (taking partial profits). Instead of entering one full position, you enter in stages as the trade confirms your thesis. Your first entry has a wide stop. Your second entry, at a better price, has a tighter stop. Your average entry price improves. This is higher risk but can lead to much larger profits when you're right. I only do this in very strong, clear trends, and I always use a position size calculator for each leg to keep total risk in check.
The core principle remains: manage your risk in pieces. Don't bet the farm on one entry or one exit. The market is too chaotic for that. Breaking your trade into phases is how you survive and compound gains over the long term here in SA, where the only constant is change.
FAQ
Q1What's a good ratio for splitting my trade between TP1 and TP2?
There's no perfect number, but 50% at TP1 and 50% at TP2 is an excellent and balanced starting point. It immediately halves your risk when TP1 hits. Some traders go 60/40 or 70/30. I'd avoid closing less than 40% at TP1, as it leaves too much capital at risk for the second target.
Q2Should I always move my stop loss to breakeven after TP1?
Almost always, yes. It's the single most important risk management step in the process. It guarantees the overall trade cannot be a loser. The only exception might be in an extremely strong, fast-moving trend where you use a wider trailing stop to capture more of the move, but that's an advanced tactic.
Q3Can I use TP1 and TP2 for scalping?
Absolutely, but the distances will be much smaller. For a scalping strategy, your TP1 might be just 5-10 pips away, and TP2 another 5-10 beyond that. The spread becomes an even bigger factor, so you need a broker with razor-thin spreads and fast execution to make it viable.
Q4How do I calculate the pip value for ZAR pairs when setting targets?
For a pair like USD/ZAR, where the quote currency is ZAR, the pip value is straightforward. If you're trading a standard lot (100,000 units), 1 pip = 1000 ZAR. For a mini lot (10,000 units), 1 pip = 100 ZAR. Always use a calculator and know your value at risk before entering. Understanding the pip definition is crucial for this.
Q5My broker's platform only allows one TP. What should I do?
You have two options. 1) Consider switching to a broker that offers MT4/MT5 or a platform with multi-TP functionality. It's a core tool. 2) You can manually manage it. Set your single TP at the TP1 level. When it hits, manually close part of your position and immediately set a new stop and TP (for TP2) on the remainder. This requires more screen time and discipline.
Q6Does using TP1 and TP2 work with prop firm challenges?
It's not just workable, it's often ideal. Prop firms have strict daily and overall loss limits. Using TP1 to consistently bank smaller profits helps you avoid big drawdowns. The discipline of partial profits and moving to breakeven protects your capital, which is the #1 goal in a challenge. It shows controlled, professional risk management.
Winston 教授的课程
要点总结:
- ✓Always set TP1 at a minimum 1:1 risk-to-reward ratio.
- ✓Close 50-70% of your position at TP1 without exception.
- ✓Move stop loss to breakeven on the remainder after TP1 is hit.
- ✓Base TP2 on a clear technical level, not a fantasy.
- ✓Factor the spread into your target, especially on ZAR pairs.
这篇文章对您有用吗?
点击星星评分
每周交易洞察
免费每周分析与策略。无垃圾邮件。
关于作者
David van der Merwe
新兴市场交易员
约翰内斯堡交易者,11年新兴市场货币经验。专注于ZAR货币对、FSCA监管交易和南非市场分析。
评论
风险提示
金融工具交易存在重大风险,可能不适合所有投资者。过往业绩不代表未来表现。本内容仅供教育目的,不构成投资建议。在交易前请务必自行研究。
您可能还喜欢

Cara Trading Forex Sukses: 7 Prinsip dari Trader Profesional
Cara trading forex sukses dengan 7 prinsip trader pro: manajemen modal, disiplin, journal trading, backtest. Data nyata, bukan janji profit palsu.
Jam Trading Forex Terbaik untuk Trader Indonesia: Panduan Lengkap dengan Tabel Waktu
Panduan jam trading forex untuk trader Indonesia. Tabel 4 sesi dunia, jam emas 20:00-00:00, sesi mana yang harus dihindari. Data akurat + tips dari trader berpengalaman.
Top 5 Sàn Forex Uy Tín Nhất 2026: Review Jujur dari Trader Indonesia
Top 5 sàn forex uy tín 2026 untuk trader Indonesia. Review jujur: spread, deposit, withdraw, dukungan lokal. Exness, XM, IC Markets & lebih.